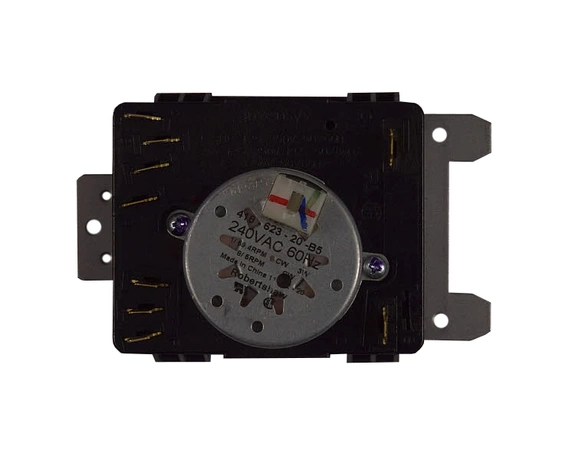
D517562 Speed Queen Dryer 4-Cycle Timer 240V

Optimize your laundry routine with this high-quality circuit board and timer designed specifically for dryers. This reliable component provides four precise drying cycles, ensuring that your garments receive the perfect treatment every time. Engineered for 240V compatibility, it fits various brands, including Speed Queen, Amana, and Alliance, making it a versatile choice for your appliance repair needs.
Whether you're replacing a worn-out part or upgrading your dryer’s efficiency, this durable timer delivers dependable performance. Easy to install, it will restore your dryer to optimal functionality, providing consistent results and enhancing your laundry experience. Invest in this essential dryer part to maintain the quality and longevity of your appliance, ensuring it's ready to handle all your drying tasks with ease.
Please Verify Your Purchase to Submit a Review
Replacing the Speed Queen D517562 TIMER, DRYER 4CYCLE 240V 60HZ
Step by Step DIY Guide
1. Unplug the dryer from the power outlet and turn off the gas valve if your dryer is gas-powered.
2. Remove the screws holding the top panel and back panel in place. Carefully detach and set aside the panels without causing any damage.
3. Take note of all wiring connected to the timer. Make sure you label them correctly so you don’t mix them up during reassembly.
4. Using a screwdriver, remove the screws that secure the timer in place. Lift the timer out and remove it from the dryer.
5. Insert the new timer into the hole and secure it with the screws you removed earlier.
6. Reconnect all the wiring to the new timer in the same way they were connected to the old timer.
7. Place the top and back panels in their respective positions and secure them with the screws.
8. Plug in the dryer to the electrical outlet and turn on the gas valve for gas-powered dryers.
9. Test the dryer to make sure the timer is working properly.
Please keep in mind, these instructions are for general guidance and should always be used in conjunction with the manufacturer's manual, if available.


