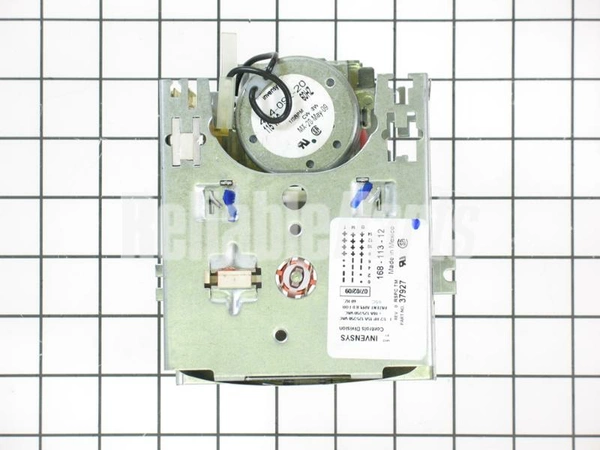
37927P Speed Queen Timer 115V 60Hz 4-Cycle

37927P Speed Queen Timer 115V 60Hz 4 Cycle
Weight : 1.61 lbs
Package Dimension : 9.61 x 7.60 x 3.07
Product Details
Reviews
Replaces Parts
Installation Instructions
Compatible Models
Compatible Brands
37927P Speed Queen Timer 115V 60Hz 4 Cycle
Weight : 1.61 lbs
Package Dimension : 9.61 x 7.60 x 3.07
Please Verify Your Purchase to Submit a Review
The following parts are replaced by this product
- 37927
- 37927
Replacing the Speed Queen 37927P TIMER,115V,60HZ,4 CYCLE
This guide will provide an easy-to-follow overview of the steps required to replace a Speed Queen 37927P timer. This timer can be found in many models of washers and is manufactured to very tight tolerances.
Tools and Materials Needed:
• Putty knife
• Flathead screwdriver
• Phillips head screwdriver
• Wire stripper/cutter
• Terminal connector block
• Torx driver
• Needlenose pliers
• New Speed Queen 37927P timer
Instructions:
1. Unplug the washer from the wall or disconnect power at the main circuit breaker.
2. Use the putty knife to loosen and remove the control panel from the top of the washer. Detach the wiring harness from the rear of the timer.
3. Remove the screws securing the timer to the washer cabinet with a Phillips head screwdriver. Carefully lift the timer from the cabinet and place it on a flat surface.
4. Disconnect the wire terminals from the timer using needlenose pliers. Separate the wires so they won’t touch each other.
5. At the new timer, attach the terminals as they were connected to the original timer. Make sure the connections are secure.
6. Re-attach the wiring harness to the rear of the new timer.
7. Position the timer in the cabinet, making sure that the wiring harness is not pinched when you secure it to the cabinet.
8. Secure the timer to the cabinet with the Phillips head screws.
9. Plug the washer in or restore power at the main circuit breaker.
10. Test the washer to make sure the timer is working properly.
Congratulations! You have successfully replaced the Speed Queen 37927P timer.
Please keep in mind, these instructions are for general guidance and should always be used in conjunction with the manufacturer's manual, if available.


