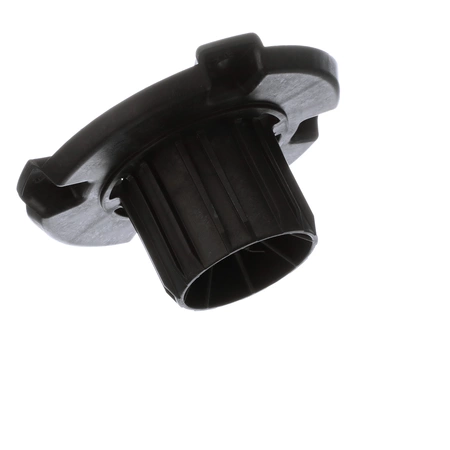
203851 Speed Queen Washer Drive Bell

203851 Speed Queen Washer Drive Bell
Weight : 1.02 lbs
Package Dimension : 6.61 x 6.61 x 3.23
203851 Speed Queen Washer Drive Bell
Weight : 1.02 lbs
Package Dimension : 6.61 x 6.61 x 3.23
Please Verify Your Purchase to Submit a Review
Step 1: Unplug the Speed Queen 203851 Dryer from the outlet.
Step 2: Remove the plastic vent tube from the back of the dryer, and then remove the screws that hold the rear panel in place. Slide the rear panel off the dryer to expose the drive bell.
Step 3: Disconnect the wires that are connected to the dryer's drive bell. Make sure to keep track of which wire goes where.
Step 4: Use a wrench to loosen the nuts that hold the drive bell in place. Then, remove the drive bell.
Step 5: Replace the old drive bell with the new one. Secure the drive bell with the nuts and bolts you removed.
Step 6: Reconnect the wires to the drive bell and make sure they are properly secured.
Step 7: Slide the rear panel back onto the dryer and secure it using the screws you removed earlier.
Step 8: Reattach the plastic vent tube to the back of the dryer.
Step 9: Plug the Speed Queen 203851 Dryer into the outlet.
Your Speed Queen 203851 Dryer should now be ready to use with the new drive bell installed.
Please keep in mind, these instructions are for general guidance and should always be used in conjunction with the manufacturer's manual, if available.


