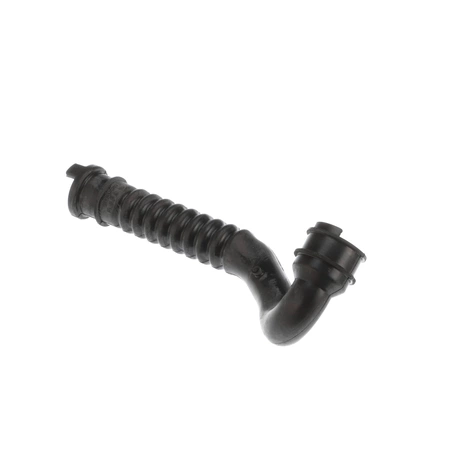
203560 Speed Queen Hose, Tub to Pump

203560 Speed Queen Hose Tub To Pump
Weight : 0.67 lbs
Package Dimension : 10.98 x 2.64 x 3.23
203560 Speed Queen Hose Tub To Pump
Weight : 0.67 lbs
Package Dimension : 10.98 x 2.64 x 3.23
Please Verify Your Purchase to Submit a Review
Instructions on Replacing the Speed Queen 203560 HOSE,TUB TO PUMP
1. Before beginning any repair work, unplug your Speed Queen machine from the electrical wall outlet or power source to avoid safety hazards.
2. Begin by removing the existing Hose,Tub to Pump. It is located behind the control panel, just above the pump.
3. To remove the Hose,Tub to Pump, use a pair of pliers to disconnect its clamps.
4. Additionally, use a flathead screwdriver to unscrew the screws that attach the hose to the pump.
5. Set aside all the parts removed from the machine.
6. Proceed by taking out the new Hose,Tub to Pump. Place it in position and make sure it fits before you continue.
7. Secure the new Hose,Tub to Pump with the clamps, as well as the screws you previously removed.
8. Now slide the control panel back into place.
9. Plug the machine in, and you’re done!
Please keep in mind, these instructions are for general guidance and should always be used in conjunction with the manufacturer's manual, if available.


