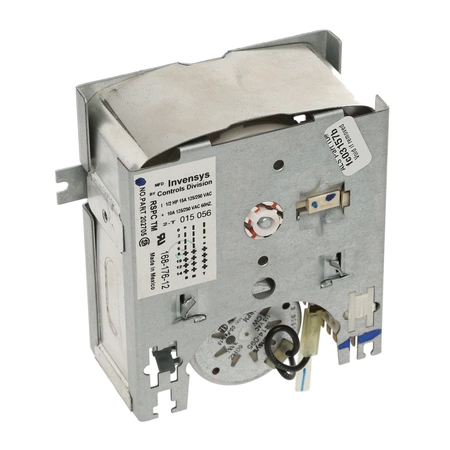
202705P Speed Queen Washer Timer 120V 4-Cycle

Timer, 120v/60hz 4 cycle works with some Speed Queen, and Amana models of washing machines.
Timer, 120v/60hz 4 cycle works with some Speed Queen, and Amana models of washing machines.
Please Verify Your Purchase to Submit a Review
Step 1: Before beginning, make sure to turn off the power to the Washer at the circuit breaker for safety.
Step 2: Unscrew the back panel of the machine with a Phillips-head screwdriver and put it aside.
Step 3: Locate the timer knob on the top of the control panel. It is usually labeled “timerâ€.
Step 4: Unscrew the timer knob and set it aside.
Step 5: Use a small screwdriver to remove the screws holding the old timer in place. Pull the old timer out of the washer carefully.
Step 6: Put the new 202705P Speed Queen Washer Timer, 120V/60HZ 4 Cycle into the same spot that you removed the old one from. Make sure it fits snugly and securely.
Step 7: Replace the screws that you removed in Step 5 back into the timer to secure it properly.
Step 8: Reinstall the timer knob that you removed in Step 3.
Step 9: Place the back panel back onto the washer and secure it using the screws that you removed in Step 2.
Step 10: Turn the power back on the circuit breaker and test the new timer to ensure it is working correctly.
Please keep in mind, these instructions are for general guidance and should always be used in conjunction with the manufacturer's manual, if available.


