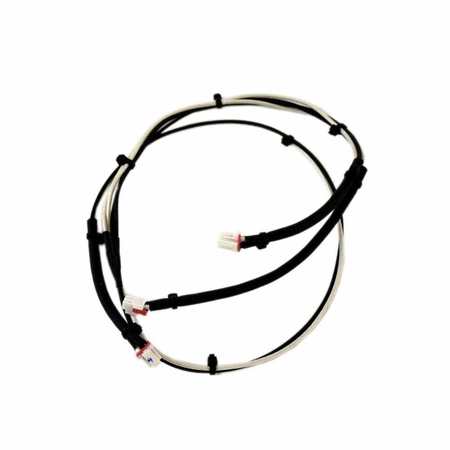
DG96-00538A Samsung Wall Oven Wire Harness

DG96-00538A Samsung Wall Oven Wire Harness
DG96-00538A Samsung Wall Oven Wire Harness
Please Verify Your Purchase to Submit a Review
Please note: We use this information only to confirm your purchase, it won’t be published.
1. Make sure to unplug the wiring harness before starting the DIY replacement process.
2. Access the Samsung DG96-00538A ASSY WIRE HARNESS-DC SIGNAL by removing the cover of the appliance.
3. Inspect both the harness and the appliance. Make sure that all connections are secure and that everything is in good condition.
4. If necessary, unscrew the screws that hold the harness in place.
5. Disconnect the old wire harness from the appliance.
6. Cut the insulation from the new wire harness that matches the Samsung DG96-00538A. This will expose the copper wires.
7. Strip off about one inch of insulation from each of the wires.
8. Twist the corresponding colored wires between the new wire harness and the appliance together.
9. Secure each connection by soldering it or using a wire connector.
10. Test the connections by plugging in the appliance and turning it on.
11. Once the connections have been tested, replace the cover of the appliance and secure it with the screws.
12. Cautiously plug the appliance back in and make sure that it's working properly.
Please keep in mind, these instructions are for general guidance and should always be used in conjunction with the manufacturer's manual, if available.


