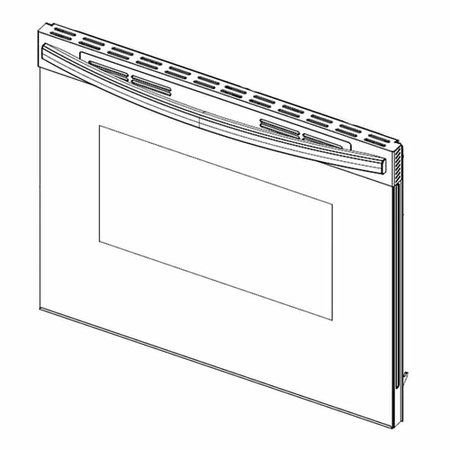
DG94-03597A Samsung Oven Door Assembly

DG94-03597A is an original equipment manufactured (OEM) part. Maintain your kitchen appliance with the Samsung oven door assembly, designed specifically for optimal compatibility with Samsung ovens. This high-quality door assembly ensures a tight seal, enhancing energy efficiency and maintaining consistent cooking temperatures. Crafted with durability in mind, it reinforces the longevity of your oven, allowing it to withstand the test of time. Whether you’re replacing a damaged door or upgrading an aged unit, this part is straightforward to install, making it an effective solution for DIY enthusiasts and home chefs alike. Trust in Samsung’s renowned craftsmanship to deliver superior performance and reliability, bringing ease back to your cooking experience. Perfect for seamless integration with your existing Samsung appliances.
DG94-03597A is an original equipment manufactured (OEM) part. Maintain your kitchen appliance with the Samsung oven door assembly, designed specifically for optimal compatibility with Samsung ovens. This high-quality door assembly ensures a tight seal, enhancing energy efficiency and maintaining consistent cooking temperatures. Crafted with durability in mind, it reinforces the longevity of your oven, allowing it to withstand the test of time. Whether you’re replacing a damaged door or upgrading an aged unit, this part is straightforward to install, making it an effective solution for DIY enthusiasts and home chefs alike. Trust in Samsung’s renowned craftsmanship to deliver superior performance and reliability, bringing ease back to your cooking experience. Perfect for seamless integration with your existing Samsung appliances.
Please Verify Your Purchase to Submit a Review
Replacing the Samsung DE81-03590A SVC-ASSY DOOR FULL SST
If your Samsung DE81-03590A SVC-ASSY DOOR FULL SST is damaged, replacing it will ensure the proper functioning of your appliance. Below are a few easy steps to help you replace your Samsung DE81-03590A SVC-ASSY DOOR FULL SST.
1.Begin by unplugging the appliance and turning off the power to your home.
2.Use a Phillips head screwdriver to remove the screws locating the old SVC-ASSY door. Once all screws are removed, gently pull the door away from the appliance.
3.Clean the groove of any dirt or debris before placing the new SVC-ASSY door in its place.
4.Carefully line up the holes on the new door with those on the fridge and use the same Phillips head screwdriver to secure the door with screws.
5.Plug the appliance back in and turn the power back on.
6.Check the door for proper sealing by closing it and ensuring that no cold air escapes.
Following these simple steps will ensure that your new SVC-ASSY door is correctly installed. With your new door in place, your appliance should be working as good as new!
Please keep in mind, these instructions are for general guidance and should always be used in conjunction with the manufacturer's manual, if available.
No more associated models for this part.


