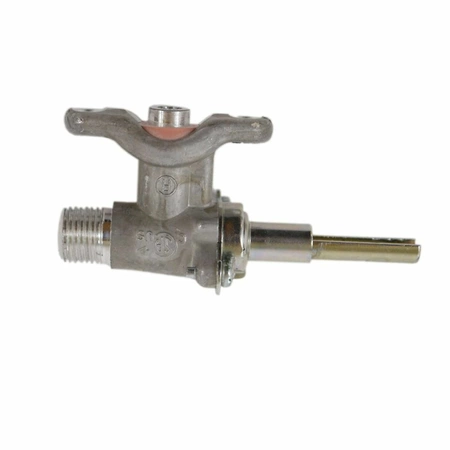
DG94-00934A Samsung Oven Range Surface Burner Valve Assembly Left Rear

Restore your Samsung oven’s performance with this essential gas burner and control valve assembly. Designed specifically for the left rear burner, this component ensures optimal heat distribution and efficient cooking. Crafted with precision, it seamlessly integrates with your existing Samsung oven to provide a reliable cooktop experience. Replacing worn or damaged valves is crucial for maintaining safety and functionality in your kitchen.
Easy to install, this valve assembly is a cost-effective solution for extending the life of your appliance. Ensure your meals are cooked to perfection every time with this high-quality part designed for longevity and durability. Maintain your cooking experience with the peace of mind that comes from using a genuine Samsung replacement part. Perfect for DIY repairs or professional installations, this assembly keeps your oven running smoothly.
Weight : 0.02 lbs
Package Dimension : 2.76 x 0.79 x 1.38
Please Verify Your Purchase to Submit a Review
Step 1: Before beginning, unplug the power source of your Samsung oven range and turn off the gas supply. This will prevent accidents from happening during the replacement.
Step 2: Take off the left rear burner access panel by unscrewing the screws holding it in place.
Step 3: Locate the faulty DG94-00934A Samsung Oven Range Surface Burner Valve Assembly, Left Rear. It is usually located at the back of the oven range.
Step 4: Disconnect the wires connected to the assembly and unscrew the screws that secure the valve.
Step 5: Remove the faulty valve and replace it with the new DG94-00934A Samsung Oven Range Surface Burner Valve Assembly, Left Rear.
Step 6: Secure the valve in place using the screws removed earlier and reattach the wires to the new valve.
Step 7: Replace the left rear burner access panel and secure it with the screws.
Step 8: Reconnect the power source and turn on the gas supply to your Samsung oven range.
Your Samsung oven range should now be equipped with a new DG94-00934A Samsung Oven Range Surface Burner Valve Assembly, Left Rear.
Please keep in mind, these instructions are for general guidance and should always be used in conjunction with the manufacturer's manual, if available.


