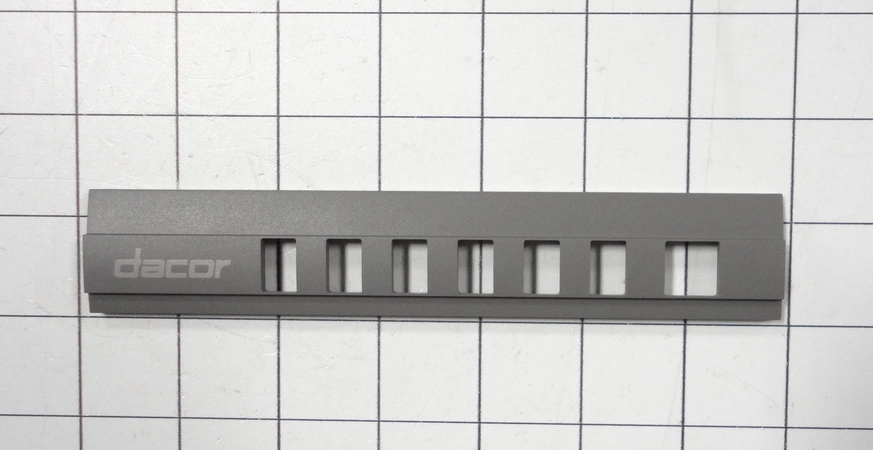
DE81-10424A Samsung Bezel Assembly

Bezel works with some Dacor models of range hoods.
Weight : 0.25 lbs
Package Dimension : 7.05 x 2.40 x 2.09
Product Details
Reviews
Replaces Parts
Installation Instructions
Compatible Models
Compatible Brands
Bezel works with some Dacor models of range hoods.
Weight : 0.25 lbs
Package Dimension : 7.05 x 2.40 x 2.09
Please Verify Your Purchase to Submit a Review
Please note: We use this information only to confirm your purchase, it won’t be published.
The following parts are replaced by this product
- 82754
Step 1: Unplug your Samsung DE81-10424A SVC-BEZEL from the power source and place it on a flat surface.
Step 2: Put on a pair of gloves and safety goggles to protect yourself from any potential harm that may be caused during the replacement process.
Step 3: Use a screwdriver to remove the screws that secure the bezel. Make sure to keep track of the placement of each screw as you will need to reattach them once you have installed the new bezel.
Step 4: Carefully lift off the bezel and set it aside.
Step 5: Place the new bezel onto the face of the refrigerator, making sure to align the notches.
Step 6: Secure the bezel with the screws that were removed in the first step.
Step 7: Plug your refrigerator back into the power source and test it to ensure that it is working properly.
Step 8: Clean up any debris or mess that was created during the replacement process.
Step 9: Enjoy your newly replaced bezel!
Please keep in mind, these instructions are for general guidance and should always be used in conjunction with the manufacturer's manual, if available.
No more associated models for this part.


