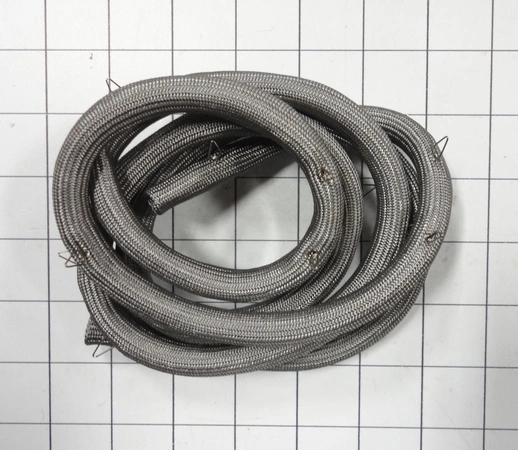
DE81-07977A Samsung Gasket Bake Glass

DE81-07977A Samsung Gasket Bake Glass
Product Details
Reviews
Replaces Parts
Installation Instructions
Compatible Models
Compatible Brands
DE81-07977A Samsung Gasket Bake Glass
Please Verify Your Purchase to Submit a Review
Please note: We use this information only to confirm your purchase, it won’t be published.
The following parts are replaced by this product
- 72900
Replacing the Samsung DE81-07977A SVC-GASKET BAKE GLASS
Step 1: Unplug your oven from the power source. Make sure that the oven is completely cool before attempting to replace the Samsung DE81-07977A SVC-GASKET BAKE GLASS.
Step 2: Remove the top panel of your oven as well as the screws that hold it in place. Set them aside when done.
Step 3: Take out the screws inside the oven that secure the back panel and set those aside as well.
Step 4: Now you can pull the back panel out of the oven. You should see the Samsung DE81-07977A SVC-GASKET BAKE GLASS at this point.
Step 5: Carefully remove the old glass using a pair of needle nose pliers and discard it.
Step 6: Get a new Samsung DE81-07977A SVC-GASKET BAKE GLASS and put it in place.
Step 7: Secure the new glass with the screws you took out earlier and then reattach the back panel.
Step 8: Replace the screws in the top panel, and you’re done!
Please keep in mind, these instructions are for general guidance and should always be used in conjunction with the manufacturer's manual, if available.
No more associated models for this part.


