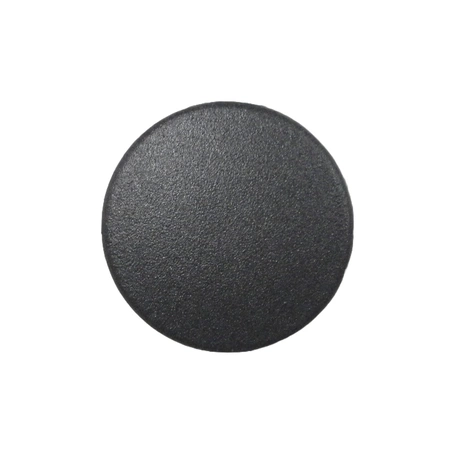
DE81-05391A Samsung Burner Cap Inner 18K Assembly

Burner cap, inner, 9.5k works with some Dacor models of range / cooktops.
Weight : 0.02 lbs
Package Dimension : 2.76 x 1.85 x 0.43
Product Details
Reviews
Replaces Parts
Installation Instructions
Compatible Models
Compatible Brands
Burner cap, inner, 9.5k works with some Dacor models of range / cooktops.
Weight : 0.02 lbs
Package Dimension : 2.76 x 1.85 x 0.43
Please Verify Your Purchase to Submit a Review
Please note: We use this information only to confirm your purchase, it won’t be published.
The following parts are replaced by this product
- 102585
Step 1: Gather the necessary tools and materials for replacing the Samsung DE81-05391A SVC-CAP BURNER INNER 18K, including a Phillips screwdriver, pliers, and the appropriate replacement burner cap.
Step 2: Unplug the appliance from its power source to ensure the safety of the repair.
Step 3: Locate and remove the screws that are holding the outer casing in place. You may need to use a Phillips screwdriver to accomplish this.
Step 4: Once the outer casing has been removed, expose the inner components of the appliance, including the burner assembly.
Step 5: Disconnect the existing burner cap by grasping it with a pair of pliers and gently pulling it off the burner assembly.
Step 6: Insert the new burner cap into the burner assembly, making sure that it is securely attached.
Step 7: Replace the outer casing and secure it with the screws that were previously removed.
Step 8: Plug the appliance back into its power source to complete the repair.
Please keep in mind, these instructions are for general guidance and should always be used in conjunction with the manufacturer's manual, if available.
No more associated models for this part.


