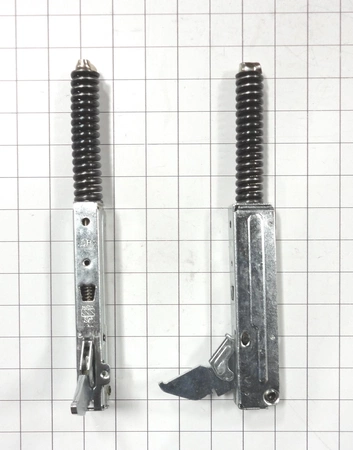
DE81-04531A Samsung Door Hinge Service Kit

Door hinge kit,service works with some Dacor models of stoves / ovens / ranges.
Product Details
Reviews
Replaces Parts
Installation Instructions
Compatible Models
Compatible Brands
Door hinge kit,service works with some Dacor models of stoves / ovens / ranges.
Please Verify Your Purchase to Submit a Review
The following parts are replaced by this product
- 701109
Step 1: Safety First - Make sure the appliance is unplugged before beginning any repairs. Wear protective gloves and eyewear to protect against any potential hazards or skin irritation.
Step 2: Open the door - Carefully lower the door onto a soft cloth or other protective material. You can use a putty knife to gently pry off the old hinges, if needed.
Step 3: Install the new hinges – Place the new Samsung DE81-04531A SVC-DOOR HINGE KIT SERVICE on the door and secure the screws that come with the kit. Make sure they are lined up correctly and tighten them securely.
Step 4: Close the door - Open and close the door several times to make sure that the hinges are working properly.
Step 5: Final Check - Look for any loose screws, frayed wires, or other potential hazards. Ensure that all the parts are working correctly and are secured in place. Replace any broken or damaged parts, if needed.
Step 6: Clean Up - Vacuum away any debris created during the repair and wipe down the surface of the appliance to keep it looking clean and new.
Please keep in mind, these instructions are for general guidance and should always be used in conjunction with the manufacturer's manual, if available.
No more associated models for this part.


