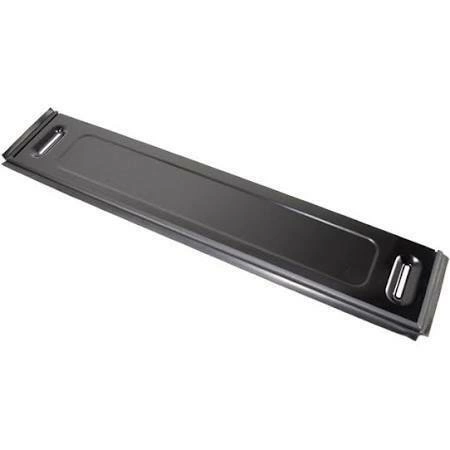
DD97-00226F Samsung Plinth Cover Assembly

DD97-00226F Samsung Cover Assembly Plinth
DD97-00226F Samsung Cover Assembly Plinth
Please Verify Your Purchase to Submit a Review
Please note: We use this information only to confirm your purchase, it won’t be published.
1. Unplug the Samsung DD97-00226F ASSY COVER PLINTH;DW9500M,BUZZ from the wall or power source and make sure that it is completely powered off.
2. Open the outer cover of the device by removing the screws with a screwdriver.
3. Carefully take out the circuit boards and other components, making sure to take note of their positioning.
4. Take out the old ASSY COVER PLINTH and discard it.
5. Take the new ASSY COVER PLINTH and place it into the same position as the one that you took out.
6. Use a screwdriver to secure the new ASSY COVER PLINTH into place.
7. Place all of the circuit boards and other components back into the device in the same position as before.
8. Secure the outer cover of the device by using the screws that were removed earlier.
9. Plug the device back into the power source or wall and switch it on.
10. Check to make sure that the Samsung DD97-00226F ASSY COVER PLINTH;DW9500M,BUZZ has been successfully replaced.
Please keep in mind, these instructions are for general guidance and should always be used in conjunction with the manufacturer's manual, if available.
No more associated models for this part.


