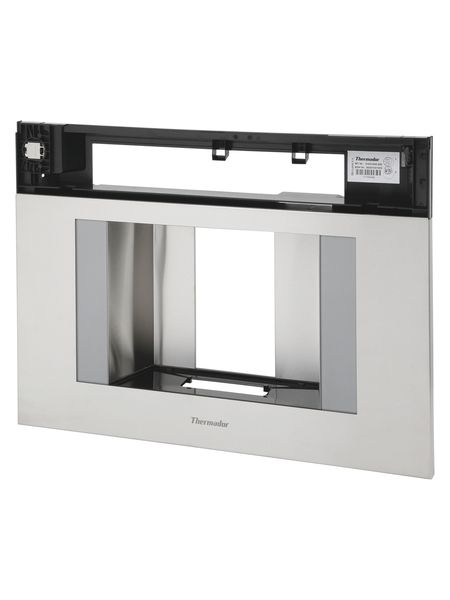
DA91-05435B Samsung Refrigerator Door Foam Assembly + LP

DA91-05435B is an original equipment manufactured (OEM) part. Enhance the efficiency of your Samsung refrigerator with this essential door foam assembly. Designed specifically for Samsung models, this part ensures a snug fit, maintaining optimal temperature control within your appliance. The durable foam material provides excellent insulation, reducing energy consumption and preventing unwanted temperature fluctuations.
Easy to install, this assembly is an ideal replacement for worn-out or damaged components, restoring the fridge's performance to factory standards. Invest in quality and reliability with this door foam assembly, specifically crafted to meet the demands of your refrigerator. Ideal for maintaining the longevity of your appliance, this part contributes to a more efficient and effective refrigeration system for your kitchen. Keep your food fresher for longer while minimizing energy costs with this indispensable replacement part.
Please Verify Your Purchase to Submit a Review
Replacing the 3045EL1002P LG Dryer Drum Tub Assembly
Instructions
1. Unplug the dryer from the power outlet and remove the lint screen.
2. Take off the lint filter housing by unscrewing the two screws on the bottom of the dryer.
3. Slide the top panel of the dryer up and off.
4. Unscrew the drum’s four screws on the outer ring.
5. Disconnect the wiring harness connecting the drum to the motor.
6. Pull the drum out of the dryer housing.
7. Remove the old drum tub assembly by using a screwdriver to remove the screws on the side of the assembly.
8. Slide the new 3045EL1002P LG Dryer Drum Tub Assembly into the dryer housing.
9. Reconnect the wiring harness back to the motor.
10. Screw the outer ring of the drum back into the housing.
11. Slide the top panel of the dryer back onto the housing.
12. Replace the lint filter housing and securely screw it in place.
13. Replace the lint screen and plug the dryer back into the power outlet.
14. Test the dryer by running it on a high-heat cycle.
Please keep in mind, these instructions are for general guidance and should always be used in conjunction with the manufacturer's manual, if available.


