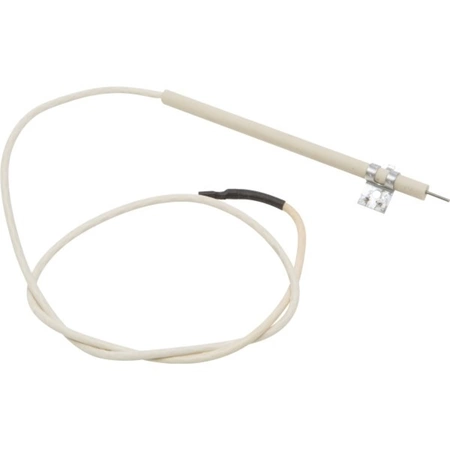
1490 Peerless Premier Range Electrode Igniter
Part #: PPA 1490
1490 Premier Peerless Range Electrode Igniter
1490 Premier Peerless Range Electrode Igniter
Please Verify Your Purchase to Submit a Review
Replacing the Electrode Ignitor on a 1490 Range
1. Turn off the gas supply to your 1490 range. You can do this by turning off the gas control knob or by shutting off the gas at the main supply line.
2. Disconnect the electrical power source. Unplug the electrical cord from the wall outlet or turn off the circuit breaker that controls the power to the range.
3. Open the oven door, and locate the ignitor. It will be located near the burner on the floor of the oven.
4. Remove the screws holding the ignitor in place. Once all the screws have been removed, carefully remove the ignitor from the oven floor.
5. Install the new ignitor by inserting it into the hole on the oven floor. Secure it in place with the screws you removed earlier.
6. Reconnect the electrical power source to the range. Plug the electrical cord back into the wall outlet, or turn the circuit breaker back on.
7. Turn the gas supply back on. This can be done by turning the gas control knob or turning on the gas at the main supply line.
8. Test the new ignitor by turning on the burner and watch for the ignitor to click as it lights the gas to the burner.
Your Electrode Ignitor on a 1490 Range is now successfully replaced.
Please keep in mind, these instructions are for general guidance and should always be used in conjunction with the manufacturer's manual, if available.
No more associated models for this part.
Compatible brands information is not available for this part.


