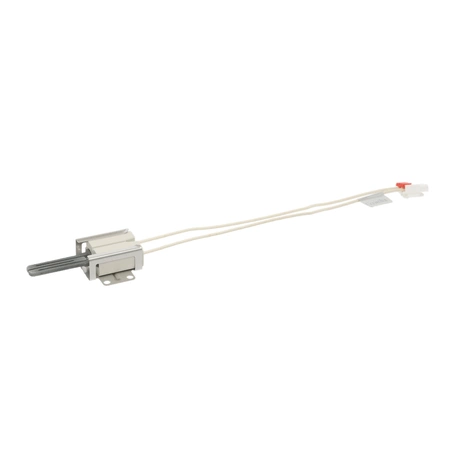
MEE61841401 LG Range Stove Oven Burner Igniter

Maintain your cooking experience with the MEE61841401 igniter, designed specifically for LG ovens. This high-quality replacement part ensures your stove burner ignites efficiently every time, providing dependable performance for all your culinary needs. As an essential component for your kitchen appliance, it is engineered to meet LG's strict quality standards, making it a reliable choice for home chefs and professionals alike.
This igniter fits seamlessly with various LG models, ensuring compatibility and ease of installation. When it's time to replace your oven igniter, trust this top-tier part to restore the functionality and reliability of your cooking appliance. Elevate your kitchen setup and enjoy perfectly cooked meals with the precision only LG can deliver. Order today for prompt service and prompt ignition!
Weight : 0.43 lbs
Package Dimension : 6.46 x 4.13 x 2.24
Please Verify Your Purchase to Submit a Review
Step 1: Begin by unplugging the range or turning off the breaker for the oven.
Step 2: Remove the oven door. To do this, open the oven door and on the bottom of the door, there will be two screws. Unscrew these and remove the door from the hinges.
Step 3: Locate the igniter. It will be a cylinder-shaped piece of metal located near the burner port.
Step 4: Disconnect the wiring at the terminal connection points. Using your fingers, gently pull apart the wires to disconnect them.
Step 5: Remove the burner igniter. Take note of the location of the screws and remove them. Carefully pull out the igniter, taking care not to damage any other parts in the process.
Step 6: Install the new burner igniter. Ensure that the mounting screws are placed into their corresponding holes. Plug in the wiring connections and attach them securely to their terminals.
Step 7: Reattach the oven door. Place the door back onto the hinges and secure it with the screws.
Step 8: Test the new igniter. Turn the oven on and set the temperature to 350 degrees. If the burner igniter lights up, then the installation was successful.
Please keep in mind, these instructions are for general guidance and should always be used in conjunction with the manufacturer's manual, if available.


