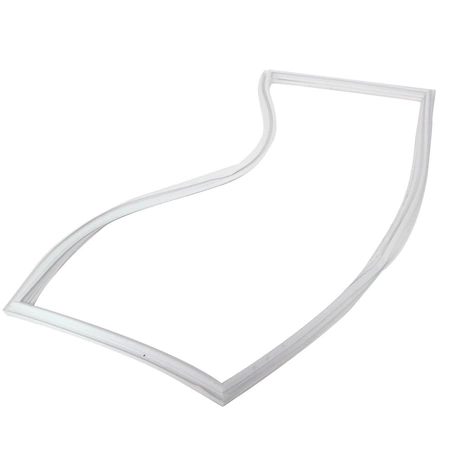
MDS64172922 LG Door Gasket

Ensure your refrigerator operates efficiently with this high-quality door gasket designed specifically for LG models. Crafted by LG Electronics, this gasket is essential for maintaining optimal temperature and humidity levels inside your fridge. It effectively seals the appliance's door, preventing cold air from leaking out and protecting your food from spoilage.
Made from durable materials, this product promises a precise fit and long-lasting performance, making it a reliable replacement for worn or damaged gaskets. Ideal for DIY repairs, it easily installs to restore your refrigerator’s functionality. Keep your food fresh and your energy bills low by upgrading to this essential seal for LG refrigerators. Improve your appliance’s efficiency today with this essential component.
Weight : 20.03 lbs
Package Dimension : 39.69 x 31.26 x 2.24
Please Verify Your Purchase to Submit a Review
Please note: We use this information only to confirm your purchase, it won’t be published.
Replacing the MDS64172922 LG Door Gasket DIY Instructions
1. Unplug your appliance from the power supply to ensure that there is no power running to it for safety purposes.
2. Remove the screws that are holding the door in place. Take out the bolts from the hinges, then use a flathead screwdriver to remove the mounting screws from the inner cabinet.
3. Carefully lift up the door and place an appropriate sized towel or cushion underneath it to prevent it from scratching the floor.
4. Check the gasket for any visible signs of damage like tears or cracks. If it appears ok then proceed to the next step.
5. Using a razor blade, slowly peel off the old gasket from the edges and corners of the door. Take your time in this step and make sure to be gentle so as not to damage the surfaces.
6. Clean the surface of the door thoroughly with a damp cloth and allow it to dry before proceeding.
7. Install the new gasket in its place by carefully fitting it into the edges and corners of the door.
8. Reinstate the mounting screws and bolts to secure the door in place.
9. Plug the appliance back in and you’re done!
Please keep in mind, these instructions are for general guidance and should always be used in conjunction with the manufacturer's manual, if available.


