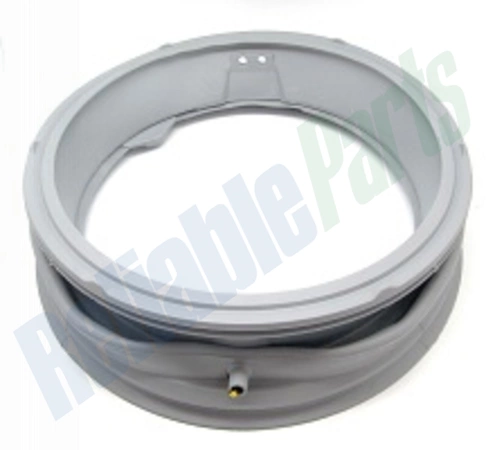
MDS38265303 LG Washer Door Boot Seal Gasket

Ensure the longevity and efficiency of your LG washer with the MDS38265303 door boot seal gasket. This essential component is designed specifically for LG appliances, guaranteeing a perfect fit and reliable performance. Over time, door seals may wear out or become damaged, leading to leaks and reduced efficiency. By replacing your old gasket with this high-quality part, you can prevent water damage and maintain optimal washing conditions. Crafted with durability in mind, this gasket helps to seal the door tightly, preventing any airflow or moisture leaks. Trust in LG Electronics quality for your appliance needs and assure your washer operates at its best. Maintain your home maintenance with this essential replacement part today.
Weight : 5.98 lbs
Package Dimension : 16.57 x 13.70 x 3.66
Please Verify Your Purchase to Submit a Review
DIY: How to Replace the LG Washer MDS38265303 Door Boot Seal Gasket
Are you looking for a DIY guide on how to replace the LG Washer MDS38265303 Door Boot Seal Gasket? Look no further! Follow the instructions below to get started.
Tools Needed:
• Flat-head screwdriver
• Philips-head screwdriver
• Rag
• Replacement door boot seal gasket
Step 1: Unplug the washer from the power source.
Step 2: Locate and remove the screws that hold the back panel to the washer.
Step 3: Once the back panel is removed, you can access the door boot seal and the tub.
Step 4: Take a rag and wipe down the tub and the door boot, removing any debris that may have collected.
Step 5: Using a flat head screwdriver, remove the old door boot seal gasket from the washer, taking care to not cause any damage to the surrounding area.
Step 6: Now install the new door boot seal gasket in place of the old one. Make sure it fits snugly and securely in place.
Step 7: Reattach the back panel to the washer with the screws you previously removed.
Step 8: Plug the washer back into the power source.
Congratulations! You have successfully replaced your LG Washer MDS38265303 Door Boot Seal Gasket.
Please keep in mind, these instructions are for general guidance and should always be used in conjunction with the manufacturer's manual, if available.


