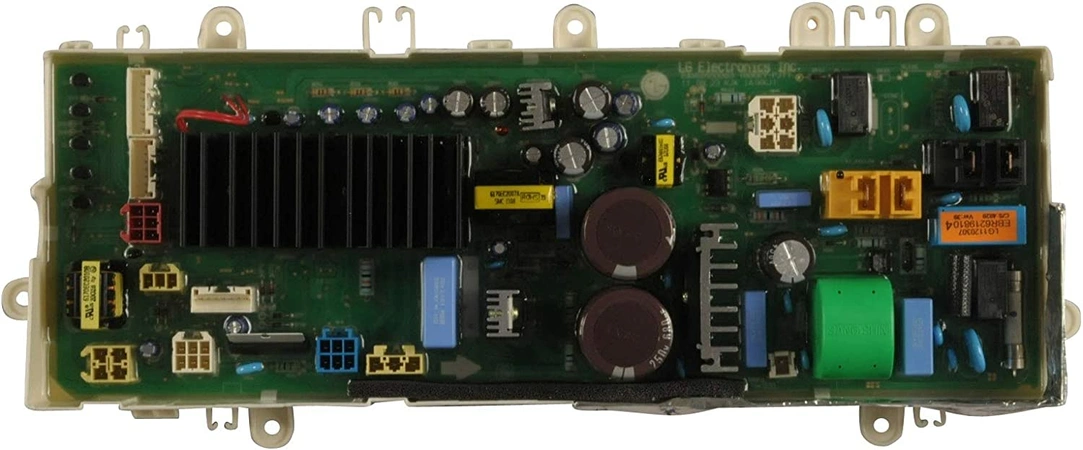
EBR85103101 LG Range Main PCB Assembly

Maintain your cooking experience with this essential circuit board replacement designed for LG ranges. This high-quality main PCB assembly ensures reliable performance and provides accurate timing functions, crucial for achieving perfect results in your culinary endeavors. Built to meet exacting LG specifications, this part seamlessly integrates into your existing appliance, ensuring compatibility and restoring functionality.
Ideal for those who value efficiency in the kitchen, this timer and overlay assembly is an essential component for maintaining your range's performance. Whether you're troubleshooting a malfunction or upgrading your existing unit, choose this component for dependable operation. Trust in the brand commitment to quality and innovation that LG Electronics is known for. Keep your kitchen running smoothly with this vital part.
Weight : 1.42 lbs
Package Dimension : 12.60 x 6.54 x 2.40
Please Verify Your Purchase to Submit a Review
Step 1: Unplug the Range from the power outlet.
Step 2: Remove the back panel of the Range in order to access the PCB assembly.
Step 3: Remove the screws that secure the PCB assembly and gently remove the PCB assembly.
Step 4: Place the new PCB assembly in its place and secure it with the same screws.
Step 5: Reassemble the back panel of the Range.
Step 6: Plug in the Range to the power outlet.
Step 7: Test the replaced PCB assembly to ensure it is working properly.
Please keep in mind, these instructions are for general guidance and should always be used in conjunction with the manufacturer's manual, if available.
No more associated models for this part.


