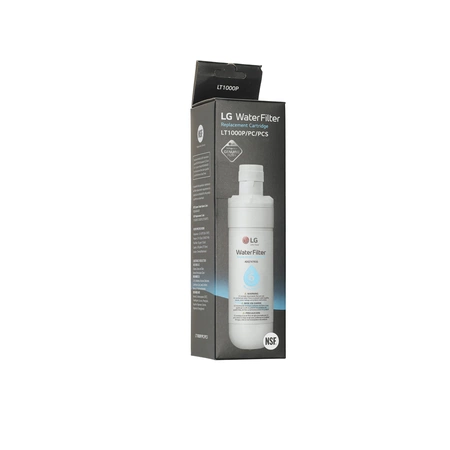
AGF80300704 LG Refrigerator Package Assembly

Package Assembly,C/SKD works with some LG models of Refrigerators
Weight : 0.22 lbs
Package Dimension : 7.13 x 1.97 x 2.17
Product Details
Reviews
Replaces Parts
Installation Instructions
Compatible Models
Compatible Brands
Package Assembly,C/SKD works with some LG models of Refrigerators
Weight : 0.22 lbs
Package Dimension : 7.13 x 1.97 x 2.17
Please Verify Your Purchase to Submit a Review
The following parts are replaced by this product
- AGM76550101
DIY: How to Replace the AGF80300704 LG Refrigerator Package Assembly, C/SKD
Replacing the package assembly of an LG refrigerator is a repair job that can be done fairly quickly and easily with the right tools. In this guide, we'll walk you through the necessary steps and provide some tips to ensure your repair is a success.
Tools You'll Need:
-Socket Set
-Screwdriver
-Phillips head screwdriver
-Utility knife
Step 1: Disconnect Power. Before you start tinkering with any electrical device, it's important to disconnect power to prevent an electric shock. Unplug the refrigerator from the wall outlet or trip the circuit breaker.
Step 2: Remove Door. Open the refrigerator door and locate the screws that secure the door onto the hinge. Use a socket set to remove the screws. Carefully lower the door down. Make sure to support the door so it does not fall.
Step 3: Remove Packaging Assembly. Locate the package assembly and remove the screws that are holding it in place. Use a Phillips head screwdriver to unscrew the screws. Pull the assembly away from the refrigerator.
Step 4: Install New Package Assembly. Remove the old package assembly and replace it with the new one. Secure the new package with the screws you removed in step 3.
Step 5: Reinstall Door. Place the door back onto the hinge and tighten the screws with your socket set. Be careful not to overtighten the screws.
Step 6: Reconnect Power. Restart the refrigerator by plugging it back into its wall outlet or flipping the circuit breaker back on. Open the door and examine the package assembly to ensure it is properly installed.
Congratulations! You have successfully replaced your LG refrigerator's package assembly. Now that you know how to fix the fridge yourself, you can save money on costly repair services.
Please keep in mind, these instructions are for general guidance and should always be used in conjunction with the manufacturer's manual, if available.


