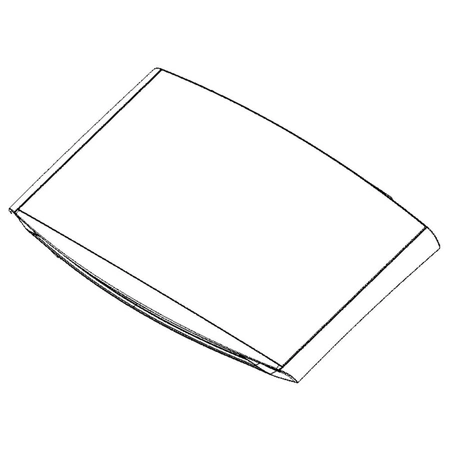
AFG73269719 LG Lid Assembly

Lid Assembly works with some LG models of Washers
Product Details
Reviews
Replaces Parts
Installation Instructions
Compatible Models
Compatible Brands
Lid Assembly works with some LG models of Washers
Please Verify Your Purchase to Submit a Review
The following parts are replaced by this product
- AFG73269714
1. Gather the necessary tools for the job. For replacing the LG AFG73269719 LID ASSY, you will need a Phillips screwdriver, a flathead screwdriver, needle nose pliers, and a small pair of tweezers.
2. Begin by unplugging the power to the washer from the outlet.
3. Use a Phillips screwdriver to loosen and remove the screws on the back of the washer which secure the top panel to the body of the washer.
4. Lift the top panel off of the washer and set aside.
5. Use a flathead screwdriver and needle nose pliers to remove the brackets, screws, and other components that secure the lid assembly in place.
6. Carefully lift the lid assembly up and out of the washer machine.
7. Position the new LG AFG73269719 Lid Assy into the washer machine and secure it with the same screws and other components that were used to secure the original lid assembly.
8. Place the top panel of the washer back onto the body of the washer and re-secure it with the screws removed earlier.
9. Plug the power back in to the outlet and test the washer to make sure the new lid assembly is working properly.
10. Once you have confirmed that the new lid assembly is working correctly, you have completed the installation process.
Please keep in mind, these instructions are for general guidance and should always be used in conjunction with the manufacturer's manual, if available.


