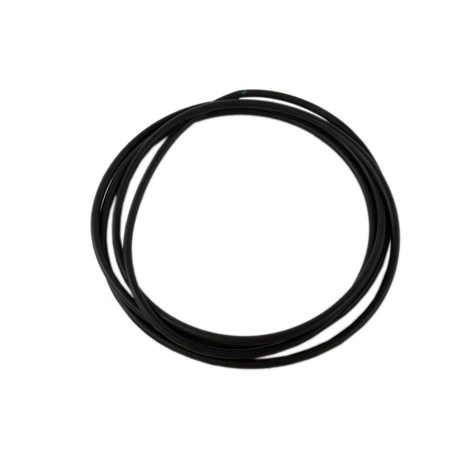
4036ER4001F LG Washer Gasket

Maintain the performance of your LG washing machine with this high-quality gasket and seal, designed specifically for optimal fit and durability. This reliable replacement part ensures a tight seal to prevent leaks and maintain efficiency during wash cycles. Crafted by LG Electronics, the product showcases rugged construction and precision engineering, promising long-lasting use in your appliance. Ideal for DIY repairs or maintenance projects, this gasket is compatible with various LG washer models, making it a versatile choice for your appliance needs. Don't let a worn-out seal disrupt your laundry routine—invest in this essential washer part to keep your machine running smoothly and effectively.
Weight : 0.25 lbs
Package Dimension : 6.97 x 3.66 x 1.38
Product Details
Reviews
Replaces Parts
Installation Instructions
Compatible Models
Compatible Brands
Maintain the performance of your LG washing machine with this high-quality gasket and seal, designed specifically for optimal fit and durability. This reliable replacement part ensures a tight seal to prevent leaks and maintain efficiency during wash cycles. Crafted by LG Electronics, the product showcases rugged construction and precision engineering, promising long-lasting use in your appliance. Ideal for DIY repairs or maintenance projects, this gasket is compatible with various LG washer models, making it a versatile choice for your appliance needs. Don't let a worn-out seal disrupt your laundry routine—invest in this essential washer part to keep your machine running smoothly and effectively.
Weight : 0.25 lbs
Package Dimension : 6.97 x 3.66 x 1.38
Please Verify Your Purchase to Submit a Review
The following parts are replaced by this product
- MDS63974502
Step 1: Unplug the Washer - Before attempting any repairs on the LG washer, make sure to unplug it from the power source.
Step 2: Remove the Top Panel - Use a flat-head screwdriver to unscrew the rear panel of the washer, which should expose the top panel. Carefully lift off the top panel and place it aside.
Step 3: Locate the Gasket - Once the top panel is removed, you’ll be able to locate the old gasket. It will be located underneath the rim around the front of the washer.
Step 4: Remove the Old Gasket - Using a flat-head screwdriver, loosen the screws that are attaching the old gasket to the washer. Once all the screws have been removed, you can then remove the old gasket from the machine.
Step 5: Install the New Gasket - Take your new LG 4036ER4001F washer gasket and line it up with the rim of the washer. Use the same screws that were used to attach the old gasket and secure the new gasket in place.
Step 6: Replace the Top Panel - Once the new gasket has been installed, reattach the top panel of the washer using the same screws that were removed.
Step 7: Plug the Washer Back in - After all the repairs have been completed, plug the LG washer back in and test it to make sure the new gasket is functioning correctly.
Please keep in mind, these instructions are for general guidance and should always be used in conjunction with the manufacturer's manual, if available.


