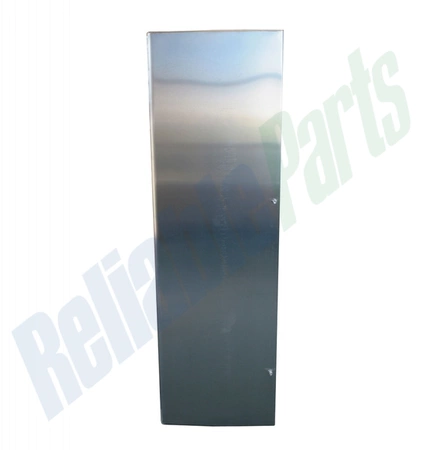
WR78X22106 GE Refrigerator Door Assembly

Elevate your refrigerator’s efficiency with this high-quality door assembly. Designed specifically for GE models, this part guarantees a perfect fit, ensuring your appliance operates smoothly. It is also compatible with Hotpoint, Haier, Monogram, and Café brands, making it a versatile solution for various refrigerator types.
Crafted from durable materials, this door assembly not only enhances the overall functionality of your fridge but also contributes to energy efficiency by maintaining optimal temperature control. Whether you're replacing a damaged door or upgrading an older model, this assembly provides a reliable and long-lasting solution.
Installation is straightforward, allowing you to restore your refrigerator quickly without professional help. Choose this essential part to keep your food fresher for longer and maintain the performance your kitchen deserves.
Weight : 146.36 lbs
Package Dimension : 70.60 x 25.50 x 11.30
Product Details
Reviews
Replaces Parts
Installation Instructions
Compatible Models
Compatible Brands
Elevate your refrigerator’s efficiency with this high-quality door assembly. Designed specifically for GE models, this part guarantees a perfect fit, ensuring your appliance operates smoothly. It is also compatible with Hotpoint, Haier, Monogram, and Café brands, making it a versatile solution for various refrigerator types.
Crafted from durable materials, this door assembly not only enhances the overall functionality of your fridge but also contributes to energy efficiency by maintaining optimal temperature control. Whether you're replacing a damaged door or upgrading an older model, this assembly provides a reliable and long-lasting solution.
Installation is straightforward, allowing you to restore your refrigerator quickly without professional help. Choose this essential part to keep your food fresher for longer and maintain the performance your kitchen deserves.
Weight : 146.36 lbs
Package Dimension : 70.60 x 25.50 x 11.30
Please Verify Your Purchase to Submit a Review
The following parts are replaced by this product
- WR78X11063
- WR78X11560
- WR78X11604
Replacing the 3045EL1002P LG Dryer Drum Tub Assembly
Instructions
1. Unplug the dryer from the power outlet and remove the lint screen.
2. Take off the lint filter housing by unscrewing the two screws on the bottom of the dryer.
3. Slide the top panel of the dryer up and off.
4. Unscrew the drum’s four screws on the outer ring.
5. Disconnect the wiring harness connecting the drum to the motor.
6. Pull the drum out of the dryer housing.
7. Remove the old drum tub assembly by using a screwdriver to remove the screws on the side of the assembly.
8. Slide the new 3045EL1002P LG Dryer Drum Tub Assembly into the dryer housing.
9. Reconnect the wiring harness back to the motor.
10. Screw the outer ring of the drum back into the housing.
11. Slide the top panel of the dryer back onto the housing.
12. Replace the lint filter housing and securely screw it in place.
13. Replace the lint screen and plug the dryer back into the power outlet.
14. Test the dryer by running it on a high-heat cycle.
Please keep in mind, these instructions are for general guidance and should always be used in conjunction with the manufacturer's manual, if available.


