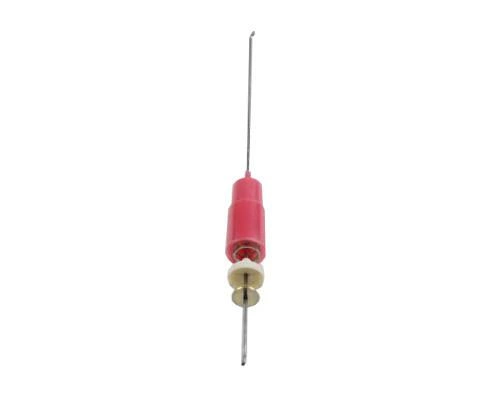
WH16X26908 GE Washer Suspension Rod

Maintain the performance of your washing machine with this high-quality suspension rod designed for optimal shock absorption. Manufactured by General Electric, this durable part ensures stability during operation, reducing noise and minimizing wear on your appliance. Perfectly compatible with GE, Hotpoint, Haier, Monogram, and Café washers, it guarantees a seamless fit for your model. Whether you're tackling a heavy load or a delicate cycle, this suspension rod helps maintain a balanced wash, extending the life of your machine. Reinforce your appliance's efficiency and reliability with this essential washer part, making it a smart addition to your maintenance routine. Maintain today for a smoother laundry experience.
Weight : 3.46 lbs
Package Dimension : 26.22 x 6.38 x 2.87
Product Details
Reviews
Replaces Parts
Installation Instructions
Compatible Models
Compatible Brands
Maintain the performance of your washing machine with this high-quality suspension rod designed for optimal shock absorption. Manufactured by General Electric, this durable part ensures stability during operation, reducing noise and minimizing wear on your appliance. Perfectly compatible with GE, Hotpoint, Haier, Monogram, and Café washers, it guarantees a seamless fit for your model. Whether you're tackling a heavy load or a delicate cycle, this suspension rod helps maintain a balanced wash, extending the life of your machine. Reinforce your appliance's efficiency and reliability with this essential washer part, making it a smart addition to your maintenance routine. Maintain today for a smoother laundry experience.
Weight : 3.46 lbs
Package Dimension : 26.22 x 6.38 x 2.87
Please Verify Your Purchase to Submit a Review
The following parts are replaced by this product
- WH16X25219
Step 1: Before beginning the repair, turn off the power to the washer and shut off the water supply lines. If you are using a dryer, ensure you have unplugged it from the wall.
Step 2: Unscrew the access panels located on the back of the washer. This will allow you to access the internal components.
Step 3: Locate the GE WH16X26908 Rod & Spring Assembly (Right - Red) on the back of the washer.
Step 4: Using a pair of pliers, disconnect the spring clip that attaches the assembly to the washer.
Step 5: Use a flathead screwdriver to unscrew the screws holding the assembly in place.
Step 6: Carefully pull the old assembly out of the washer and set aside.
Step 7: Take the new GE WH16X26908 Rod & Spring Assembly (Right - Red) and insert it into the washer, lining it up with the screw holes.
Step 8: Secure the assembly in place with the screws that were used to remove the old one.
Step 9: Reconnect the spring clip to secure the assembly in place.
Step 10: Replace all access panels and screw them in securely.
Step 11: Turn the power back on and turn the water supply lines back on. Make sure to test the washer to ensure it is working properly.
Please keep in mind, these instructions are for general guidance and should always be used in conjunction with the manufacturer's manual, if available.


