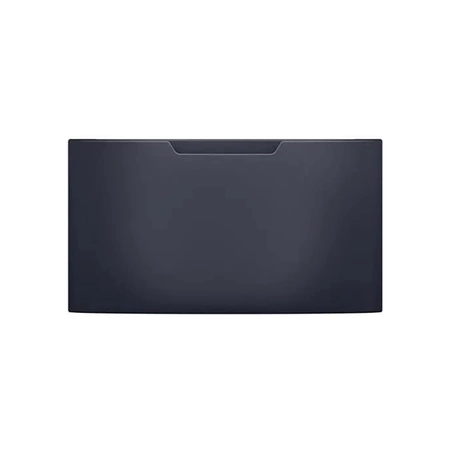
WH13X30347 GE Washer Front Panel Royal Sapphire

Maintain the functionality and aesthetics of your washing machine with this premium front panel, expertly designed for select GE appliances. This high-quality replacement part offers a perfect fit for various models, ensuring seamless compatibility with popular brands including Hotpoint, Haier, Monogram, and Café. Crafted to meet stringent standards, this panel not only revitalizes your appliance's appearance with its striking royal sapphire finish but also maintains optimal performance during wash cycles. Easy to install, it serves as a practical solution for any home maintenance project, restoring your washer to its original glory. Maintain your laundry experience with this reliable and stylish component, designed to meet your household's washing needs.
Weight : 50.50 lbs
Package Dimension : 39.00 x 30.00 x 6.00
Please Verify Your Purchase to Submit a Review
1. Prepare the tools and replaceable parts you will need for the project. You will need a screwdriver, the new GE WH13X30347 Front Panel Royal Sapphire (or other replacement parts if you are replacing multiple components), and possibly a few other tools to remove screws and/or pry open the existing panel.
2. Unplug the dryer and shut off the power source. Remove the screws from the back of the dryer to reveal the inside of the machine.
3. Carefully remove the existing front panel and set it aside. Look for any disconnected wiring or broken clips and reconnect them if necessary.
4. Place the new panel on the dryer and make sure all of the pins are properly connected in their slots. Secure the new panel with the appropriate screws, ensuring that the panel is tightly fitted.
5. Turn the power back on and check to make sure the panel functions properly.
6. Reinstall any screws or other components you may have removed.
7. Test the machine to make sure that your repair was successful.
Please keep in mind, these instructions are for general guidance and should always be used in conjunction with the manufacturer's manual, if available.


