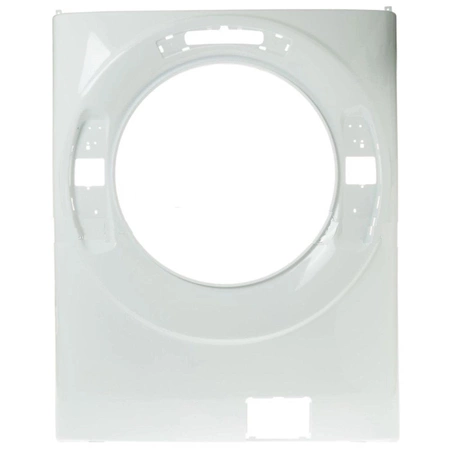
WH13X29506 GE Front Panel

Maintain the functionality and appearance of your washer with the front panel designed for select GE appliances. Crafted for durability and precision, this high-quality replacement part ensures your machine operates smoothly and efficiently. Compatible with GE, Hotpoint, Haier, Monogram, and Café models, this panel not only restores the original aesthetic of your washer but also guarantees reliable performance. Update your appliance effortlessly and maintain its longevity with this essential component. Ideal for DIY enthusiasts and professional repairs alike, this front panel is a must-have for anyone looking to keep their washing machine in top condition. Transform your laundry experience today with this essential part!
Weight : 37.93 lbs
Package Dimension : 37.00 x 28.50 x 5.00
Please Verify Your Purchase to Submit a Review
DIY Guide to Replacing the GE WH13X29506 Front Panel White
If your GE washer is showing signs of wear, it may be time to replace the front panel. The GE WH13X29506 is a model-specific, white front panel that provides access to the inside of the washing machine. Replacing this part requires some basic tools, a few minutes of your time, and following the instructions outlined in this guide.
Safety Note: Unplug the power cord from all electrical sources before starting this repair.
Step 1: Remove the Old Panel
1. Unscrew the four visible screws that secure the old panel to the washer's body.
2. Using a flathead screwdriver or other prying tool, gently pry up the bottom edge of the panel away from the washer.
3. Gently pull the panel away from the washer, making sure not to apply too much pressure as to damage the surrounding surfaces.
Step 2: Prepare the New Panel
1. Grab the new replacement panel by its top and bottom edges.
2. Gently pull the plastic shipping tabs to remove the panel from its packaging.
3. Gently twist and bend the panel to remove any creases or wrinkles from being in the package for an extended period.
Step 3: Install the New Panel
1. Fit the two indented pegs at the bottom of the panel into the slots on the washer's body.
2. Press the panel firmly against the washer until it snaps into place.
3. Replace the four screws to secure the panel in place.
Your GE washing machine is now ready to use with a brand new front panel! Keeping up with regular repairs will extend the life of your washing machine and ensure it operates properly.
Please keep in mind, these instructions are for general guidance and should always be used in conjunction with the manufacturer's manual, if available.


