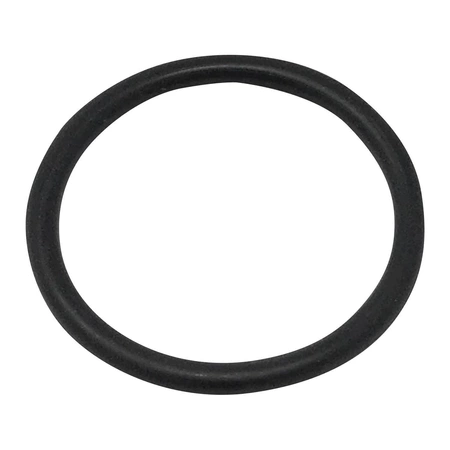
WH09X22745 GE Washer O-Ring

Ensure your washing machine operates efficiently with the WH09X22745 O-Ring, a reliable replacement seal designed for select GE appliances. This high-quality gasket is engineered to prevent leaks, providing a tight seal during operation. Compatible with brands such as Hotpoint, Haier, Monogram, and Café, it offers versatility for various models.
Crafted from durable materials, this seal enhances the lifespan of your washer while maintaining optimal performance. Easy to install, the O-Ring is essential for anyone looking to maintain their appliance’s functionality and efficiency. Maintain your washer with this dependable part and enjoy peace of mind knowing your appliance is complete with top-notch, effective components. Ideal for DIY repair enthusiasts or professional technicians.
Weight : 0.01 lbs
Package Dimension : 1.50 x 1.14 x 0.55
Please Verify Your Purchase to Submit a Review
Step 1: Purchase an O-ring for the WH09X22745 GE model.
Step 2: Shut off the power to the appliance. You can do this by unplugging the power cord or flipping the circuit breaker in your electrical panel.
Step 3: Disconnect the supply line to the water valve. Use a wrench or a pair of pliers to loosen the mounting nut and disconnect the supply line.
Step 4: Remove the old O-ring and replace it with the new one. Make sure the O-ring is aligned correctly before securing it into place.
Step 5: Reattach the water supply line. Tighten the mounting nut using a wrench or a pair of pliers.
Step 6: Turn on the power to the appliance and test the new O-ring for leaks.
Step 7: If there are no leaks, your DIY project is complete. If there are leaks, resolve them before using the appliance again.
Please keep in mind, these instructions are for general guidance and should always be used in conjunction with the manufacturer's manual, if available.


