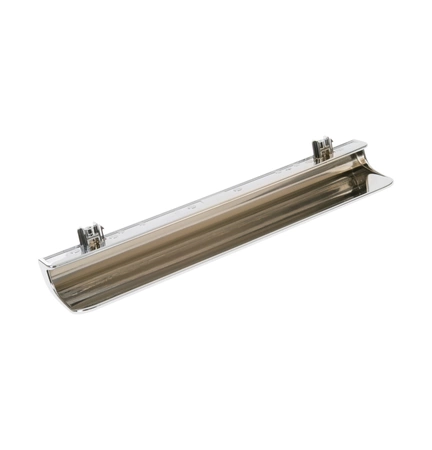
WE1M1079 GE Door Handle

WE1M1079 is an original equipment manufactured (OEM) part. Maintain the functionality of your dryer with this high-quality door handle, designed specifically for use with various GE models, including Hotpoint, Haier, Monogram, and Café appliances. Crafted for durability and easy installation, this reliable handle allows for smooth operation and enhances the overall user experience. Ideal for replacing a damaged or worn handle, it ensures that your dryer door functions seamlessly. With its compatibility across several leading brands, you can trust this part to restore your appliance to optimal performance. Invest in this essential replacement to keep your laundry routines hassle-free and efficient. Add this door handle to your cart today and maintain the quality of your GE dryer.
Weight : 1.79 lbs
Package Dimension : 14.80 x 4.20 x 4.00
Please Verify Your Purchase to Submit a Review
Please note: We use this information only to confirm your purchase, it won’t be published.
Step 1: Remove the old GE WE1M1079 door handle. Begin by unscrewing two screws located on the interior side of the door that are holding the handle in place. Once you have removed these screws, slide the handle away from the door.
Step 2: Measure the distance between the two mounting holes on the new handle. Make sure to leave a slight gap of approximately ½ inch between the hole centers.
Step 3: Mark the new locations for the mounting holes on the door. Make sure to double check your measurements before you drill.
Step 4: Carefully drill two pilot holes into the door at each of the marked spots. These holes should be slightly smaller than the mounting screws included with the new handle.
Step 5: Place the new handle onto the door and insert the mounting screws into the pilot holes. Tighten the screws from the interior side of the door.
Step 6: Check to make sure the handle is secure and replace the interior trim if necessary.
Please keep in mind, these instructions are for general guidance and should always be used in conjunction with the manufacturer's manual, if available.


