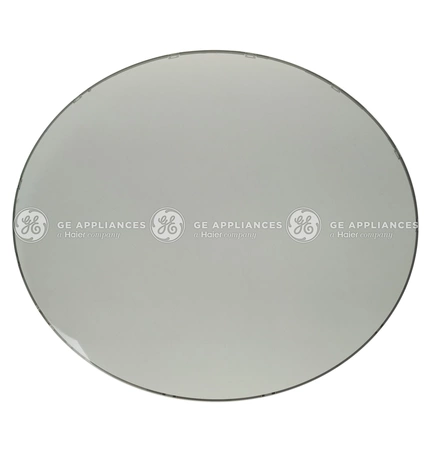
WE13X29720 GE Door

The General Electric WE13X29720 Dryer Door Protect Cover protects your dryer's door from normal wear and tear. This cover is made of a durable material that protects the dryer door from scratches, dents, and other bumps that can occur during laundry room use. It typically attaches to the front of the dryer door, and some covers may use a peel-and-stick application or fasteners to ensure a secure fit.
The General Electric WE13X29720 Dryer Door Protect Cover protects your dryer's door from normal wear and tear. This cover is made of a durable material that protects the dryer door from scratches, dents, and other bumps that can occur during laundry room use. It typically attaches to the front of the dryer door, and some covers may use a peel-and-stick application or fasteners to ensure a secure fit.
Please Verify Your Purchase to Submit a Review
Replacing the GE WE13X29720 DOOR PROTECT COVER
Replacing the door protect cover on your GE dryer can be a relatively easy task with the right tools. Here are the steps you’ll need to complete the job.
1. Unplug the dryer from the power outlet.
2. Remove the three screws securing the top panel of the dryer.
3. Flip the top panel back, and disconnect the wiring harnesses.
4. Locate the screws that fasten the door protect cover to the door.
5. Using a screwdriver, remove the screws and the door protect cover.
6. Install the new door protect cover, aligning the mounting holes with those in the door.
7. Reinstall the screws, and tighten them firmly.
8. Reconnect the wiring harnesses to the top panel, and close the top panel.
9. Re-secure the top panel with the three screws.
10. Plug the dryer back into the power outlet, and turn it on.
And now you’re ready to get back to doing laundry! Follow these simple steps and you’ll have a new door protect cover installed on your GE dryer in no time. Along with making your dryer look better, the new part will help ensure the safety of your dryer.
Please keep in mind, these instructions are for general guidance and should always be used in conjunction with the manufacturer's manual, if available.


