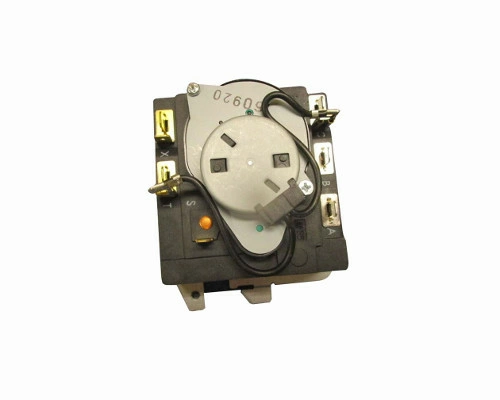
WE04X25280 GE Washer Dryer Timer

Maintain the functionality of your dryer with this essential circuit board timer and overlay from GE. Designed for reliable performance, this component ensures precise cycle timing and efficient operation, helping you achieve optimal drying results for your laundry. Compatible with a range of brands including GE, Hotpoint, Haier, Monogram, and Café, this part seamlessly integrates into various models, making it a versatile solution for your appliance needs.
Replacement of a worn-out timer can restore your dryer’s efficiency, cutting down drying times and minimizing energy consumption. Crafted with quality in mind, this timer is a smart addition to any maintenance routine. Keep your laundry routine on track with this reliable part, perfect for DIY repairs. Maintain your dryer today for hassle-free laundry days!
Weight : 0.46 lbs
Package Dimension : 4.37 x 3.86 x 3.78
Please Verify Your Purchase to Submit a Review
1. Unplug the dryer from the power outlet before starting.
2. Remove the dryer's top panel by unscrewing the two screws located at the back of the dryer.
3. Locate the timer and disconnect the wiring harness by squeezing the tabs on either side of the connector and pulling it off.
4. Unscrew the mounting bracket that holds the timer in place and remove it.
5. Install the new timer and secure it with the mounting bracket.
6. Reconnect the wiring harness by pushing it on until it clicks in place.
7. Replace the top panel and screw it in place.
8. Plug the dryer back into the power outlet and test it.
Please keep in mind, these instructions are for general guidance and should always be used in conjunction with the manufacturer's manual, if available.


