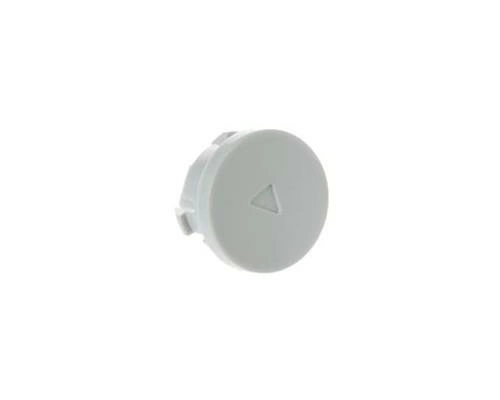
WE04X24719 GE Washer Dryer Start Button Assembly

Elevate your laundry experience with this essential start button assembly designed specifically for select GE appliances. This reliable component is compatible with top brands, including Hotpoint, Haier, Monogram, and Café, ensuring a perfect fit for your washing machine. Crafted with quality materials, the durable assembly guarantees long-lasting performance, allowing you to resume your laundry chores with ease. Whether you're replacing a worn-out part or upgrading your appliance, this assembly is straightforward to install, making it an ideal choice for both DIY enthusiasts and professionals alike. Don’t let a malfunctioning start button disrupt your routine; invest in this critical part today for seamless operation of your washer.
Weight : 0.03 lbs
Package Dimension : 1.85 x 1.54 x 1.54
Please Verify Your Purchase to Submit a Review
DIY Instructions for Replacing the GE Dryer Start Button Assembly (WE04X24719)
1. Unplug the dryer from the wall before attempting to replace the start button assembly.
2. Remove the top panel of the dryer by unscrewing the screws located near the top of the dryer's back panel and pulling off the panel.
3. Locate the start button assembly on the front panel. It is held in place with two small screws.
4. Unscrew the two screws holding the start button assembly in place.
5. Pull the old start button assembly off the front panel.
6. Place the new start button assembly into the opening where you removed the old one. Make sure it is securely in place.
7. Screw the new start button assembly into place using the two small screws.
8. Replace the top panel of the dryer, making sure all the screws are tight.
9. Plug the dryer back into the wall outlet and test the start button assembly to make sure it works properly.
10. Enjoy your newly replaced start button assembly and your now functioning dryer.
Please keep in mind, these instructions are for general guidance and should always be used in conjunction with the manufacturer's manual, if available.


