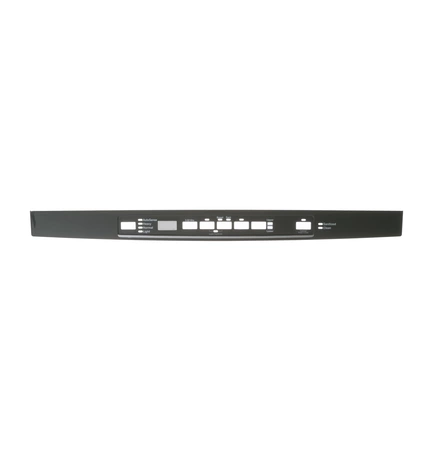
WD34X24429 GE Dishwasher Control Panel

WD34X24429 is an original equipment manufactured (OEM) part. Maintain your dishwasher with the WD34X24429 control panel, designed specifically for GE and compatible brands including Hotpoint, Haier, Monogram, and Café. This high-quality touchpad and keypad solution ensures seamless control of your appliance, enhancing functionality and ease of use. Crafted to meet rigorous standards, this control panel guarantees a perfect fit and reliable performance, helping to restore your dishwasher to optimal working condition. Whether you're replacing a worn-out part or upgrading your current setup, this control panel provides the essential features you need for efficient operation. Ensure your dishwasher operates at its best with this dependable component, designed to last and keep your kitchen running smoothly.
Weight : 2.68 lbs
Package Dimension : 25.63 x 4.45 x 3.27
Please Verify Your Purchase to Submit a Review
How to Replace the GE WD34X24429 Console Cover Graphic Assembly
1. Unplug the machine or turn off the power supply before starting any repairs.
2. Remove the console top cover. This is the piece that covers the control board. Depending on the model of your unit, you will either need to remove a few screws or pull up on the console top cover to release the springs underneath.
3. Once the top cover is removed, locate the defective console cover graphic assembly and remove it from the control board.
4. Unpack the new graphic assembly, align the prongs on the assembly with the slots in the board and securely press down on the assembly to ensure complete connection.
5. Re-install the console top cover and secure with the appropriate hardware.
6. Plug in the machine or turn on the power supply.
7. Test the machine to make sure the replacement was successful.
8. If the machine is functioning properly, you have successfully replaced the GE WD34X24429 console cover graphic assembly.
Please keep in mind, these instructions are for general guidance and should always be used in conjunction with the manufacturer's manual, if available.


