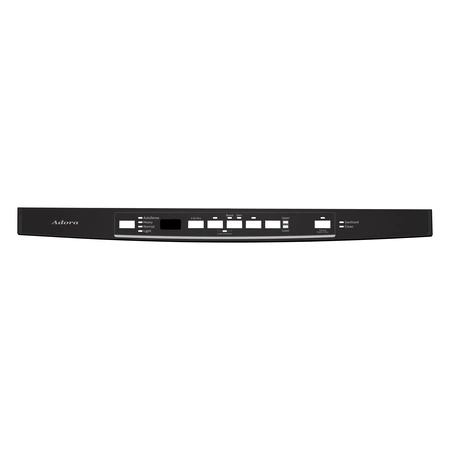
WD34X23196 GE Overlay

WD34X23196 is an original equipment manufactured (OEM) part. Maintain your dishwasher with the WD34X23196 overlay, expertly designed for seamless compatibility with GE, Hotpoint, Haier, Monogram, and Café appliances. This high-quality touchpad and keypad control ensures reliable performance and precise functionality, allowing you to easily manage your dishwashing cycles. Made with durable materials, this part is engineered to withstand daily use while maintaining its sleek appearance. If you’re looking to restore your dishwasher to its optimal condition, this overlay offers a perfect fit and easy installation for hassle-free repairs. Enhance your home with this essential component, ensuring your appliances run smoothly for years to come.
Weight : 2.61 lbs
Package Dimension : 24.90 x 4.70 x 3.10
Please Verify Your Purchase to Submit a Review
Please note: We use this information only to confirm your purchase, it won’t be published.
1. Unplug the refrigerator from the wall and shut off the water supply to prevent any water leakage.
2. Open the refrigerator door and remove the existing console cover graphic assembly by gently pulling it away.
3. Carefully lift the new GE WD34X23196 Cover Graphic Assembly, and align it into place within the refrigerator.
4. Push the new GE WD34X23196 Cover Graphic Assembly until secure.
5. Plug in the refrigerator and reconnect the water supply.
6. Open and close the refrigerator door a few times to ensure the cover graphic is secure and operational.
Please keep in mind, these instructions are for general guidance and should always be used in conjunction with the manufacturer's manual, if available.


