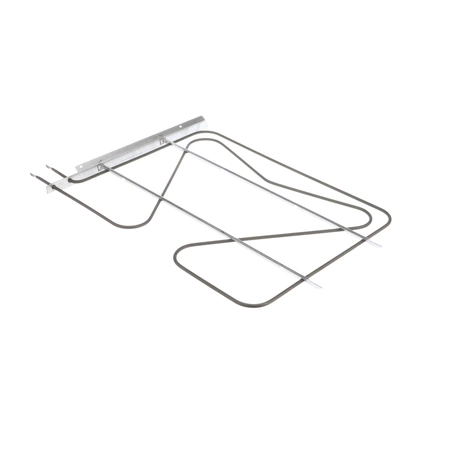
WB44T10082 GE Range Bake Element

Ensure your oven performs at its best with this high-quality heating element from GE. Designed to deliver reliable heating, it’s perfect for those who enjoy consistently baked goods and perfectly roasted meals. This part is compatible with various brands, including GE, Hotpoint, Haier, Monogram, and Café, making it a versatile choice for many kitchens. Easy to install, this heating element ensures optimal heat distribution for any baking or roasting task. Replacing a worn or faulty oven element can improve cooking efficiency and results. Trust GE's durable craftsmanship to keep your oven running smoothly and efficiently. Maintain your appliance today for better performance and delicious outcomes!
Weight : 10.37 lbs
Package Dimension : 27.10 x 19.70 x 2.70
Please Verify Your Purchase to Submit a Review
Replacing the GE WB44T10082 Element Hidden Bake Assembly
Step 1: Unplug the power cord from the outlet.
Step 2: Pull the oven away from the wall and place it on a flat surface with enough room to work around it.
Step 3: Remove the securing screws on the back panel of the oven along the top of the element, and then remove the back panel.
Step 4: Reach inside the oven and unplug the electrical wires from the bake element.
Step 5: Unscrew the mounting screw that is holding the bake element in place, and then pull the element out of the oven.
Step 6: Place the new bake element in the oven and secure it with the mounting screw.
Step 7: Plug in the electrical wires to the new bake element.
Step 8: Replace the back panel and screw it into place.
Step 9: Push the oven back against the wall and plug the power cord back into the outlet.
Step 10: Turn the oven on and test the bake element to ensure it is working properly.
Please keep in mind, these instructions are for general guidance and should always be used in conjunction with the manufacturer's manual, if available.


