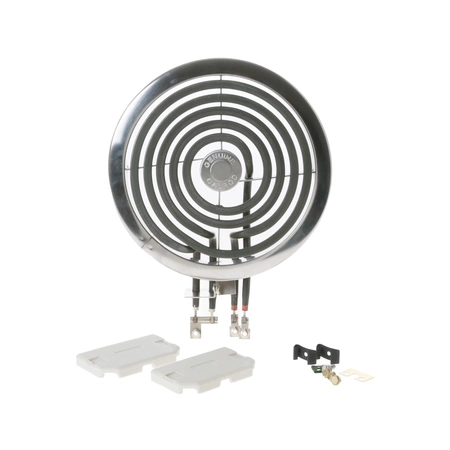
WB30X356 GE Oven Range Cooktop Burner Unit 3 Wire 6 Inch

The WB30X356 GE Oven Range Stove Cooktop Burner Unit 3 Wire 6 Inch is a certified OEM (Original Equipment Manufacturer) replacement part that supplies heat to a cookingarea on top of the range for select GE and Hotpoint models. This kit does not come with a drip bowl. It includes a 6-inch, three-wire, 1350-watt surface element with a tilt lock hinge mount. These low-rise elements feature an attached trim ring and a terminal block for all three-wire units.
Weight : 0.59 lbs
Package Dimension : 6.30 x 5.12 x 2.56
Product Details
Reviews 1
Replaces Parts
Installation Instructions
Compatible Models
Compatible Brands
The WB30X356 GE Oven Range Stove Cooktop Burner Unit 3 Wire 6 Inch is a certified OEM (Original Equipment Manufacturer) replacement part that supplies heat to a cookingarea on top of the range for select GE and Hotpoint models. This kit does not come with a drip bowl. It includes a 6-inch, three-wire, 1350-watt surface element with a tilt lock hinge mount. These low-rise elements feature an attached trim ring and a terminal block for all three-wire units.
Weight : 0.59 lbs
Package Dimension : 6.30 x 5.12 x 2.56
Please Verify Your Purchase to Submit a Review
1. Unplug the stove from the power source.
2. Remove the grates and burner caps.
3. Loosen the screws on the cooktop to remove the oven top, being careful not to break the seal around it.
4. Take out the old Burner Unit by loosening the screws that hold it in place.
5. Pull the wires from the terminal block, remembering which wire goes where.
6. Install the new Burner Unit in reverse order of removal, making sure all connections are firmly secured.
7. Reconnect the wires to the terminal block, noting where each wire was connected.
8. Reinstall the oven top, making sure the seal is secure.
9. Tighten the screws on the cooktop to ensure the oven top is securely fastened.
10. Replace the grates and burner caps.
11. Plug the stove back into a power source.
Please keep in mind, these instructions are for general guidance and should always be used in conjunction with the manufacturer's manual, if available.


