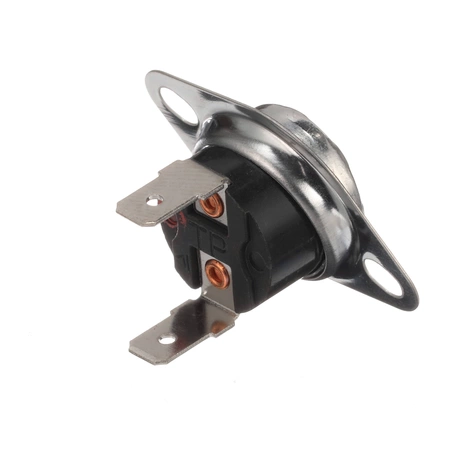
WB27X11213 GE Oven Thermostat

Ensure your oven functions at its best with this reliable thermostat, designed specifically for various GE models, including Hotpoint, Haier, Monogram, and Café. This essential component plays a crucial role in regulating the temperature, ensuring your dishes are cooked to perfection every time. Made with quality materials, it guarantees durability and precise temperature control, enhancing your cooking experience. Easily installable, this thermostat not only helps maintain consistent heat but also minimizes energy consumption, making it an eco-friendly choice. Whether you’re baking a cake or roasting a chicken, this part is pivotal for achieving culinary excellence. Maintain your oven today and enjoy flawless cooking results.
Weight : 0.21 lbs
Package Dimension : 6.00 x 6.00 x 0.80
Please Verify Your Purchase to Submit a Review
1. Unplug the Microwave from the power source: Unplug the microwave from the wall outlet before beginning this repair.
2. Remove the back panel of your microwave: Begin using a Phillips-head screwdriver to remove the screws from the back panel of your microwave. Gently lift the panel away to gain access to the interior components.
3. Locate the existing thermostat: Using the owner's manual, locate and identify the existing thermostat. It will be connected to the control board via two wires.
4. Disconnect the wires: Carefully disconnect the two wires from the existing thermostat, noting which wire connects to which port on the thermostat.
5. Remove the existing thermostat: Unscrew the mounting screws that hold the thermostat in place, and gently remove it from the microwave.
6. Install the new thermostat: Line up the mounting holes of the new thermostat with the ones on the microwave and mount them in place.
7. Reconnect the wires: Connect the two wires to the appropriate terminals on the new thermostat, being sure to match them up with the way they were connected to the old thermostat.
8. Reassemble the back panel: Gently put the rear panel back and secure it with the screws you removed earlier.
9. Plug the microwave back in: Once you have completed the repair, plug the microwave back into the power source, and it should now be operating properly with the new thermostat.
Please keep in mind, these instructions are for general guidance and should always be used in conjunction with the manufacturer's manual, if available.


