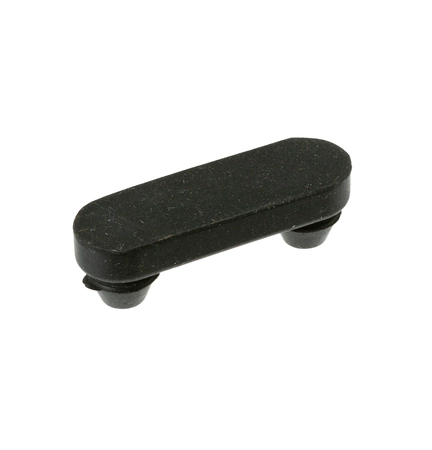
WB02X30761 GE Oven Bridge Bumper

Maintain your oven's performance with this essential fastener designed specifically for GE appliances. This high-quality bridge bumper ensures a secure fit, enhancing the overall functionality of your appliance. Compatible with a range of brands, including Hotpoint, Haier, Monogram, and Café, this part is an ideal choice for homeowners seeking reliable oven repair solutions. Engineered to meet rigorous standards, it guarantees a perfect match for your existing setup, making installation straightforward. Whether you're undertaking a DIY project or performing routine maintenance, this fastener will help restore your oven to optimal working condition. Trust in the durability and compatibility of this product to keep your kitchen running smoothly.
Weight : 0.17 lbs
Package Dimension : 8.00 x 7.50 x 0.40
Please Verify Your Purchase to Submit a Review
Please note: We use this information only to confirm your purchase, it won’t be published.
Step 1: Unplug your appliance from the outlet before beginning any repairs.
Step 2: Look for the old WB02X30761 Bridge Bumper on the appliance. It may be located on the top or at the back of the appliance.
Step 3: Use a Phillips screwdriver to remove the mounting screws that are holding the old bumper in place.
Step 4: Carefully take out the old bridge bumper and dispose of it properly.
Step 5: Take the new WB02X30761 Bridge Bumper and align it with the holes that formerly held the old one in place.
Step 6: Secure the new bumper in place using the mounting screws. Be sure to tighten it in order to ensure a good hold.
Step 7: Reconnect the appliance to its power source and test the new bumper to make sure it is working properly.
Step 8: Reset any settings that may have been altered during the repair.
Please keep in mind, these instructions are for general guidance and should always be used in conjunction with the manufacturer's manual, if available.


