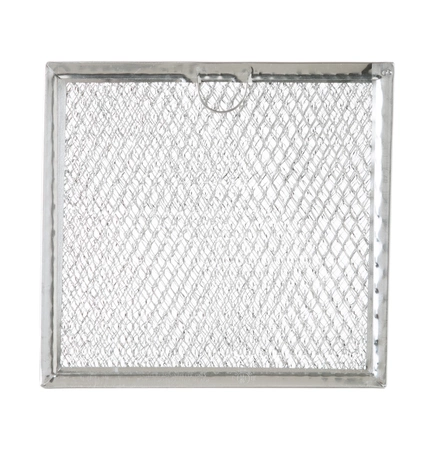
WB02X11534 GE Grease Filter Replacement

Maintain optimal performance in your kitchen with this high-quality grease filter replacement. Designed for compatibility with a variety of brands, including GE, Hotpoint, Haier, Monogram, and Café, this filter ensures your microwave operates efficiently, effectively trapping grease and preventing it from accumulating within your appliance.
Constructed from durable materials, it is easy to install and fits seamlessly into your existing setup. Regular filter replacement is crucial for maintaining air quality and appliance longevity. Maintain your cooking environment while extending the life of your microwave with this essential part. Ideal for both professional and home kitchens, this grease filter is a smart investment for anyone looking to keep their space clean and functional. Maintain your appliance maintenance today!
Weight : 1.71 lbs
Package Dimension : 10.98 x 7.13 x 3.03
Please Verify Your Purchase to Submit a Review
1. Before you begin the replacement, shut off the power to the range hood: Unplug the power cord from the outlet or turn off the appropriate circuit breaker.
2. Place a bucket or bowl underneath the range hood to catch any grease or other particles that may fall during the filter replacement process.
3. Unlatch the grease filter's access panel at the bottom of the range hood. This will expose the existing grease filter.
4. To remove the grease filter, use a flathead screwdriver to loosen the clasps that secure the filter.
5. Carefully pull out the existing grease filter.
6. Insert the new WB02X11534 GE Grease Filter into the opening, ensuring it fits snugly.
7. Use a flathead screwdriver to re-secure the clasps and hold the new filter in place.
8. Secure the access panel, plug in the power cord, or turn on the circuit breaker.
9. Test the range hood to ensure that it is working correctly.
Please keep in mind, these instructions are for general guidance and should always be used in conjunction with the manufacturer's manual, if available.


