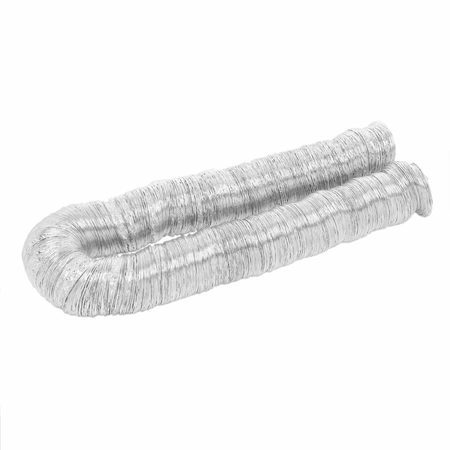
TD450 Dundas Jafine Transition Duct 4" x 50" Aluminium ProFlex
Part #: DUN TD450
TD450 Dundas 4" x 50" Aluminium ProFlex Transition Duct
TD450 Dundas 4" x 50" Aluminium ProFlex Transition Duct
Please Verify Your Purchase to Submit a Review
How to Replace the TD450 DUCT CLOTHES DRYER 4"X 50':
1. Turn off the power source to the dryer. Unplug the machine from the power outlet.
2. Remove the exterior panels of the dryer. This will give you access to your duct clothes dryer.
3. Take out the old dryer by unscrewing it from the wall. Disconnect all the electrical connections, air supply lines and the exhaust vent system first.
4. Put in the new 4 x 50 foot duct clothes dryer according to the instructions on the package.
5. Secure the new dryer to the wall by screwing the mounting plate securely. Connect the ducts, electrical connections and air supply lines as per directions.
6. Plug in the power source to the dryer. Turn it on and test its functions.
7. Reattach the exterior panels of the dryer.
8. Make sure the dryer is running smoothly and you are good to go!
Please keep in mind, these instructions are for general guidance and should always be used in conjunction with the manufacturer's manual, if available.
No more associated models for this part.


