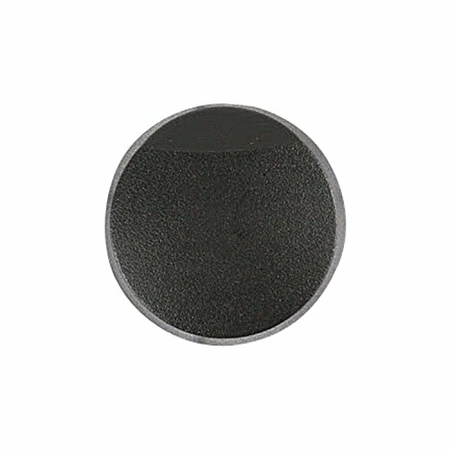
82016B Dacor Range Knob Black
Part #: DAC 82016B
82016B Dacor Knob, Range, Black
82016B Dacor Knob, Range, Black
Please Verify Your Purchase to Submit a Review
Step-by-Step DIY Instructions on Replacing a Dacor 82016B KNOB, RANGE, BLACK
1. Turn off the electric power to the range by unplugging the unit or disconnecting it from the power supply.
2. Remove the old knob. The knob is usually attached to a splined shaft that is connected to the control switch. To remove the knob, push in and turn the knob counterclockwise.
3. Insert the new knob and align the shaft with the spline slots of the knob.
4. Push in and turn the knob clockwise until it is securely in place. Make sure the knob is properly aligned with the control switch before turning it.
5. Plug the range back into the power supply and turn the power back on.
6. Test the new knob to make sure it is working properly.
You now know how to successfully replace your Dacor 82016B KNOB, RANGE, BLACK. Following these steps will ensure you can replace the knob safely and properly for continued use.
Please keep in mind, these instructions are for general guidance and should always be used in conjunction with the manufacturer's manual, if available.
No more associated models for this part.


