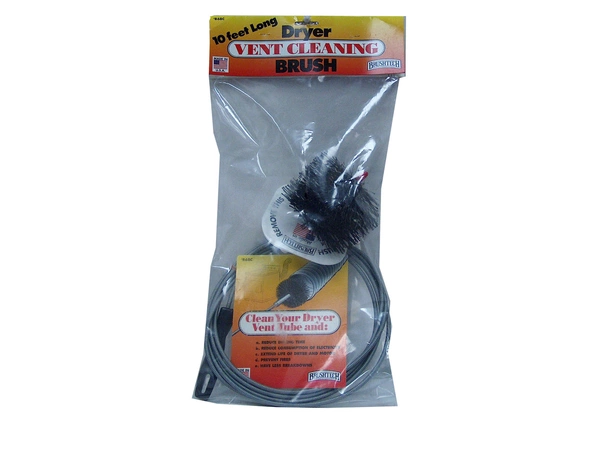
BR013 Brushtech Dryer Vent Cleaning Brush 10' Long
Part #: BRT BR013
4" Diameter Dryer Vent Cleaning Brush B68C
Removes lint easily to:
● Reduce fire hazards
● Reduce consumption of electric power
● Brings about smoother, cooler operation with less breakdowns
We are a Factory Authorized Parts Distributor. We stock the installation supplies used by the professionals. Give us a call for all your appliance installation parts and accessories need.
Weight : 0.80 lbs
Package Dimension : 8.31 x 7.87 x 1.69
Product Details
Reviews
Replaces Parts
Installation Instructions
Compatible Models
Compatible Brands
4" Diameter Dryer Vent Cleaning Brush B68C
Removes lint easily to:
● Reduce fire hazards
● Reduce consumption of electric power
● Brings about smoother, cooler operation with less breakdowns
We are a Factory Authorized Parts Distributor. We stock the installation supplies used by the professionals. Give us a call for all your appliance installation parts and accessories need.
Removes lint easily to:
● Reduce fire hazards
● Reduce consumption of electric power
● Brings about smoother, cooler operation with less breakdowns
We are a Factory Authorized Parts Distributor. We stock the installation supplies used by the professionals. Give us a call for all your appliance installation parts and accessories need.
Weight : 0.80 lbs
Package Dimension : 8.31 x 7.87 x 1.69
Please Verify Your Purchase to Submit a Review
The following parts are replaced by this product
- 18001033
- B68C
- B68C
Step 1: Gather tools and materials you need to replace the BR013 Dryer Vent Cleaning Brush 10’ Long. You will need a new brush, tape measure, screwdriver, and a dust pan.
Step 2: Start by turning off the power to your dryer. You can do this by unplugging the appliance from the outlet or by turning off the fuse of the circuit breaker box.
Step 3: Remove the cover plate from the exterior vent. Use the screwdriver to remove the screws from the cover.
Step 4: Take a vacuum cleaner and gently suck out all the lint that has accumulated in the ducting system.
Step 5: Measure the length of the existing brush and compare it with the length of the new brush. Make sure that the new brush is the same size as the old one so it fits properly.
Step 6: Insert the new brush into the ducting system, pushing it down until you reach the end of the vent.
Step 7: Secure the brush to the ducting system using tape. Make sure that it is firmly attached to the walls of the ducting system.
Step 8: Replace the cover plate on the exterior vent and tighten the screws.
Step 9: Turn the power back on to your dryer.
Step 10: You’re done! Now you can enjoy a clean dryer vent and a safe dryer experience.
Please keep in mind, these instructions are for general guidance and should always be used in conjunction with the manufacturer's manual, if available.
No more associated models for this part.


