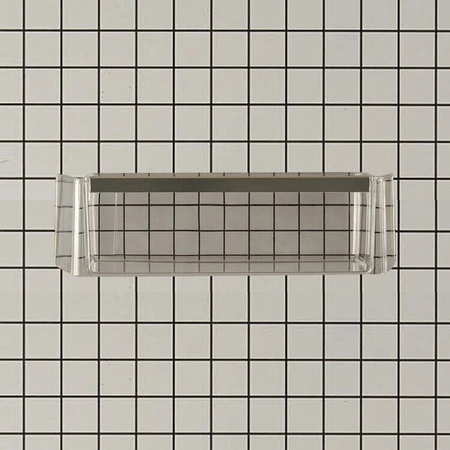
11016450 Bosch Refrigerator Container

Maintain your kitchen's efficiency with this high-quality shelf and shelf support designed for Bosch refrigerators. Crafted specifically for Bosch, Thermador, and Gaggenau models, this durable container ensures optimal organization and storage within your fridge. Its design maximizes usable space, making it easy to store items while keeping them accessible. Durable materials provide long-lasting use, ensuring that your appliance operates at peak performance. Simple to install, it seamlessly integrates into your existing setup, revitalizing your refrigerator's functionality. Maintain your kitchen with this essential component today, and enjoy a perfectly organized food storage experience. Ideal for those seeking reliable and versatile refrigerator solutions.
Maintain your kitchen's efficiency with this high-quality shelf and shelf support designed for Bosch refrigerators. Crafted specifically for Bosch, Thermador, and Gaggenau models, this durable container ensures optimal organization and storage within your fridge. Its design maximizes usable space, making it easy to store items while keeping them accessible. Durable materials provide long-lasting use, ensuring that your appliance operates at peak performance. Simple to install, it seamlessly integrates into your existing setup, revitalizing your refrigerator's functionality. Maintain your kitchen with this essential component today, and enjoy a perfectly organized food storage experience. Ideal for those seeking reliable and versatile refrigerator solutions.
Please Verify Your Purchase to Submit a Review
Please note: We use this information only to confirm your purchase, it won’t be published.
Replacing the Bosch 11016450 Container: A DIY Guide
If you’ve noticed that your Bosch 11016450 container has become damaged or inefficient over time, replacing it may be a necessary solution. While the task might seem overwhelming or complicated, don’t worry, we’re here to help! With this simple guide, you’ll learn how to replace your Bosch 11016450 container in no time.
Tools and Materials
Before getting started, be sure you have all the necessary tools and materials on hand. This will make the process of replacing the container much easier and faster. You’ll need:
A Bosch 11016450 replacement container
Screwdrivers
Pliers
Step 1: Remove the Old Container
The first step is to remove the old container from the unit. Start by unplugging the unit from the electrical outlet. Then, use the screwdriver to remove any screws holding the container in place. Once you’ve removed the screws, you can use the pliers to detach any wires or tubing connected to the container.
Step 2: Install the New Container
Now, you’re ready to install the new container. Begin by attaching the tubing or wires to the new container. Then, replace the screws and secure the container in place. Finally, plug the unit back into the outlet.
Step 3: Test and Enjoy
Congratulations, you’ve successfully replaced your Bosch 11016450 container! Before you get started with your next project, take some time to test the unit to make sure that it’s working properly. Once you’re certain that everything is running smoothly, you can pat yourself on the back and enjoy your newfound efficiency!
Please keep in mind, these instructions are for general guidance and should always be used in conjunction with the manufacturer's manual, if available.


