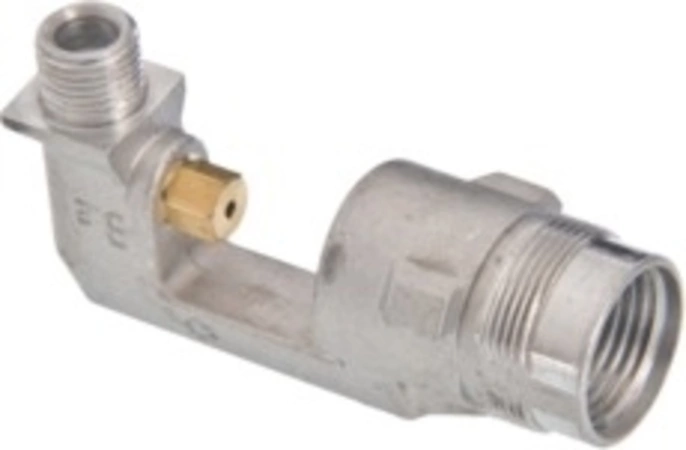
00415498 Bosch Oven Holder

Maintain the performance of your gas oven with this essential holder, designed specifically for seamless compatibility with Bosch, Thermador, and Gaggenau appliances. Crafted by Bosch, this model ensures reliable operation of gas burners and control valves, making it a crucial component for any kitchen. Its robust construction provides durability, ensuring that it withstands the demands of everyday cooking while maintaining optimal safety standards. Whether you're replacing a worn-out part or upgrading your current setup, this oven holder guarantees a perfect fit and reliable functionality. Invest in this appliance part for peace of mind during your cooking endeavors, and enjoy the precision and efficiency that Bosch products are renowned for.
Weight : 0.05 lbs
Package Dimension : 2.99 x 1.97 x 1.06
Product Details
Reviews
Replaces Parts
Installation Instructions
Compatible Models
Compatible Brands
Maintain the performance of your gas oven with this essential holder, designed specifically for seamless compatibility with Bosch, Thermador, and Gaggenau appliances. Crafted by Bosch, this model ensures reliable operation of gas burners and control valves, making it a crucial component for any kitchen. Its robust construction provides durability, ensuring that it withstands the demands of everyday cooking while maintaining optimal safety standards. Whether you're replacing a worn-out part or upgrading your current setup, this oven holder guarantees a perfect fit and reliable functionality. Invest in this appliance part for peace of mind during your cooking endeavors, and enjoy the precision and efficiency that Bosch products are renowned for.
Weight : 0.05 lbs
Package Dimension : 2.99 x 1.97 x 1.06
Please Verify Your Purchase to Submit a Review
Please note: We use this information only to confirm your purchase, it won’t be published.
The following parts are replaced by this product
- 15-10-156
- 415498
1. Unplug the Bosch range and make sure the stovetop is cool to the touch.
2. Locate and remove the damaged jet holder. This should be found on the side of the range, near the burner.
3. Using a screwdriver or other tool as needed, carefully unscrew the mounting screws that are securing the old jet holder in place and remove it.
4. Insert the new jet holder into the opening and secure with the mounting screws.
5. Connect the new jet holder to the gas supply line, making sure that all connections are properly secured.
6. Turn the gas supply back on and check for leaks using a soapy water solution.
7. Check the installation with a level to ensure the jet holder is positioned correctly, and tighten any screws that may have become loose.
8. After confirming that the replacement jet holder is secure, turn on the gas supply and test the range through its heating cycle.
9. Once the range heats up properly and all the flames are burning smoothly, you’re ready to enjoy your updated appliance!
Please keep in mind, these instructions are for general guidance and should always be used in conjunction with the manufacturer's manual, if available.
No more associated models for this part.


