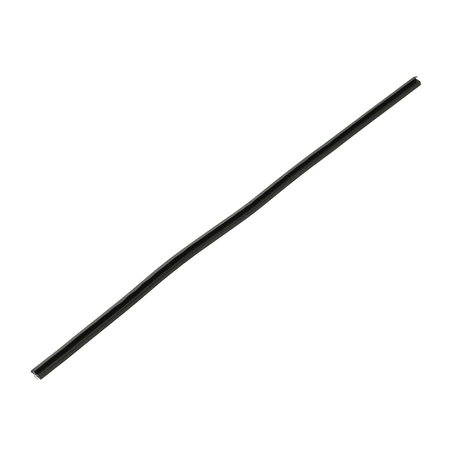
411121 Bertazzoni Gasket
Part #: BER 411121
411121 Bertazzoni Gasket
411121 Bertazzoni Gasket
Please Verify Your Purchase to Submit a Review
Please note: We use this information only to confirm your purchase, it won’t be published.
Step 1: Find the 411121 Bertazzoni Gasket Replacement
First, you need to find a replacement gasket for your 411121 Bertazzoni appliance. Visit a local home appliance store or contact the Bertazzoni customer service team to purchase the correct replacement gasket.
Step 2: Prep Your Work Area
Next, prepare a workspace that is free of debris and dust. Place a soft cloth on the work surface to protect the gasket from any possible abrasions.
Step 3: Unscrew the Old Gasket
Using a screwdriver, gently remove the screws that secure the old gasket to the appliance. Most gaskets have four screws, but depending on the model of your appliance, it may have fewer or more.
Step 4: Install the New Gasket
Once you have removed the old gasket, carefully align the new gasket with the mounting holes on the side of the appliance. Using your screwdriver, slowly tighten the screws to secure the new gasket in place.
Step 5: Test and Enjoy
Finally, turn on the appliance and test it to make sure the new gasket is properly installed. If everything is functioning correctly, then you’re done and can enjoy your newly replaced gasket!
Please keep in mind, these instructions are for general guidance and should always be used in conjunction with the manufacturer's manual, if available.
No more associated models for this part.


