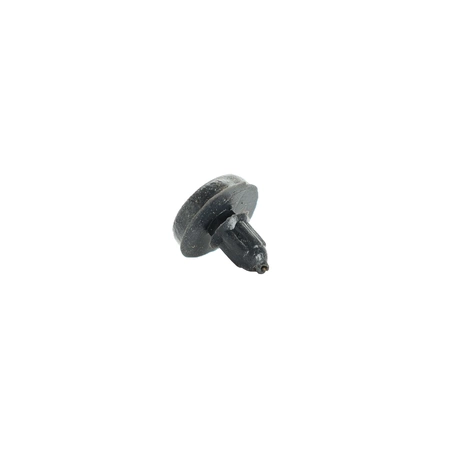
308041 Bertazzoni Range Rubber Bumper Burner Grate
Part #: BER 308041
The 308041 Bertazzoni Range Burner Grate Rubber Bumper is a genuine OEM (original equipment manufacturer) part from Bertazzoni. Upgrade your Bertazzoni range with the 308041 Range Burner Grate Rubber Bumper. Crafted with precision and designed to fit perfectly, this rubber bumper is the ideal accessory to safeguard your burners and prevent scratches and damages.
Weight : 0.01 lbs
Package Dimension : 2.99 x 0.94 x 0.67
Product Details
Reviews
Replaces Parts
Installation Instructions
Compatible Models
Compatible Brands
The 308041 Bertazzoni Range Burner Grate Rubber Bumper is a genuine OEM (original equipment manufacturer) part from Bertazzoni. Upgrade your Bertazzoni range with the 308041 Range Burner Grate Rubber Bumper. Crafted with precision and designed to fit perfectly, this rubber bumper is the ideal accessory to safeguard your burners and prevent scratches and damages.
Weight : 0.01 lbs
Package Dimension : 2.99 x 0.94 x 0.67
Please Verify Your Purchase to Submit a Review
The following parts are replaced by this product
- 308035
DIY: How to Replace the 308041 Bertazzoni Range Burner Grate Rubber Bumper
Replacing the 308041 Bertazzoni Range burner grate rubber bumper is a straightforward task that can be completed with a few simple tools and a few minutes of your time. When your burner grate starts to become worn, cracked, or warped, it is time to replace it. Follow this DIY guide to help you get the job done.
Tools and Materials Needed:
- Flathead screwdriver
- Replacement Rubber Bumper (308041)
- Phillips Screwdriver
Instructions:
1. Start by turning off the power to the range. This is done by flipping the switch for the circuit breaker found in your circuit box. This will ensure that you are able to replace the rubber bumper safely.
2. Use a flathead screwdriver to carefully pry off the old rubber bumper from the burner grate.
3. Once you have removed the old bumper, take the replacement rubber bumper (308041) and place it on the burner grate. Make sure it is properly secured and aligned before continuing.
4. Now, use the Phillips screwdriver to secure the rubber bumper in place.
5. Finally, turn the power to the range back on and test the burner grate to make sure that the replacement rubber bumper is working properly.
Congratulations! You have successfully replaced the 308041 Bertazzoni Range burner grate rubber bumper and can now enjoy cooking with your newly updated appliance.
Please keep in mind, these instructions are for general guidance and should always be used in conjunction with the manufacturer's manual, if available.
No more associated models for this part.


