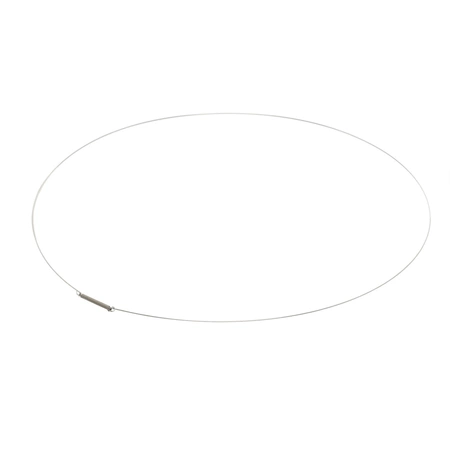
DC97-04973B Samsung Boot Spring Clamp

Discover the ultimate solution for securing your Samsung washer with this durable boot spring clamp. Designed explicitly for Samsung appliances, this fastener plays a crucial role in maintaining the integrity of your washer's boot, ensuring optimal performance and preventing leaks. Constructed to withstand operational wear, it offers exceptional reliability and longevity. Whether you’re a DIY enthusiast or a professional technician, this reliable part simplifies maintenance and repairs, keeping your appliance running smoothly. With SKU DC97-04973B, you can trust this essential component to restore your washer's functionality. Elevate your appliance care routine by investing in this high-quality fastener today. Perfectly compatible with your Samsung model, it’s an investment that pays off in efficiency and peace of mind.
Weight : 1.44 lbs
Package Dimension : 17.99 x 12.28 x 0.91
Please Verify Your Purchase to Submit a Review
Replacing the DC97-04973B Boot Spring Clamp on a Samsung Washer
1. Disconnect the power cord from the outlet or switch off the breaker box to ensure that the washer is not receiving any electricity.
2. Remove the back panel of the washer by loosening the screws or nuts with a screwdriver or wrench. You may need to check the manufacturer’s instruction manual to determine the exact placement of the screws or nuts.
3. Unhook the boot spring clamp from its holder. This can be done by gently pushing the pin of the clip and wiggling it free from the holder.
4. Remove the old spring clamp from the washer by unscrewing the screws on each side of the clamp.
5. Replace it with the new spring clamp. Make sure the screws are securely tightened so the new spring is firmly in place.
6. Put the hook of the spring clamp back into its holder. Make sure the hook is properly aligned and securely fastened.
7. Reinstall the back panel by tightening the screws or nuts.
8. Plug in the power cord into the switch or outlet.
9. Test the washer to make sure the new spring clamp is working properly.
Please keep in mind, these instructions are for general guidance and should always be used in conjunction with the manufacturer's manual, if available.


