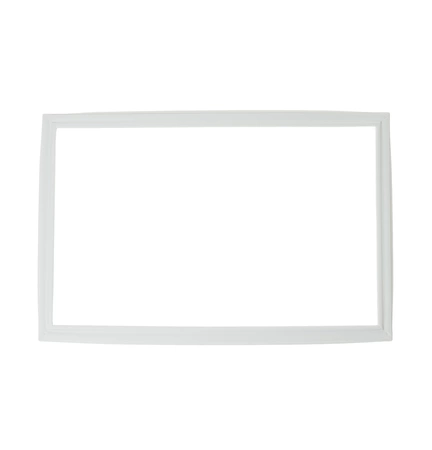
WR24X10228 GE Refrigerator Freezer Door Seal Gasket

Maintain the efficiency of your refrigerator with this high-quality door seal gasket, an essential part for maintaining optimal temperature and food freshness. Designed specifically for use with various GE models as well as compatible brands like Hotpoint, Haier, Monogram, and Café, this durable replacement part ensures a snug fit to prevent cold air from escaping. Crafted for longevity and resilience, it helps reduce energy consumption and minimizes the risk of frost buildup. Installing this gasket is straightforward, making it an ideal solution for DIY enthusiasts and professionals alike. Improve your appliance's performance today with this reliable gasket and enjoy peace of mind knowing your food stays fresher for longer. Perfect for maintaining the quality of your refrigeration system.
Weight : 8.21 lbs
Package Dimension : 31.89 x 20.20 x 1.77
Product Details
Reviews 1
Replaces Parts
Installation Instructions
Compatible Models
Compatible Brands
Maintain the efficiency of your refrigerator with this high-quality door seal gasket, an essential part for maintaining optimal temperature and food freshness. Designed specifically for use with various GE models as well as compatible brands like Hotpoint, Haier, Monogram, and Café, this durable replacement part ensures a snug fit to prevent cold air from escaping. Crafted for longevity and resilience, it helps reduce energy consumption and minimizes the risk of frost buildup. Installing this gasket is straightforward, making it an ideal solution for DIY enthusiasts and professionals alike. Improve your appliance's performance today with this reliable gasket and enjoy peace of mind knowing your food stays fresher for longer. Perfect for maintaining the quality of your refrigeration system.
Weight : 8.21 lbs
Package Dimension : 31.89 x 20.20 x 1.77
Please Verify Your Purchase to Submit a Review
The following parts are replaced by this product
- WR24X484
- WR24X524
- WR24X10050
- WR24X0484
- WR24X0524
Tools Needed:
1. Phillips head screwdriver
2. Putty knife
3. Ruler
4. Clean rag
Step 1: Inspect the current freezer door seal gasket to ensure it needs replacing. If the gasket is worn, torn, or cracked, it may need to be replaced.
Step 2: Remove the screws located around the perimeter of the freezer door with a Phillips head screwdriver. Gently pull the inner wall of the freezer door away from the outer wall to detach them.
Step 3: Use a putty knife to carefully remove the old gasket from the outer wall of the freezer door.
Step 4: Measure the length, width, and depth of the new WR24X10228 GE Refrigerator Freezer Door Seal Gasket. Make sure to get exact measurements so the new gasket fits properly.
Step 5: Place the new gasket into the groove in the outer wall of the freezer door. Use a clean rag or a finger to press down around the edges for a secure fit.
Step 6: Reattach the inner wall of the freezer door to the outer wall by pressing them back together and securing with the screws. Tighten the screws with a Phillips head screwdriver.
Step 7: Test the fit by closing the freezer door. The new gasket should be snug and make a perfect seal.
Please keep in mind, these instructions are for general guidance and should always be used in conjunction with the manufacturer's manual, if available.


