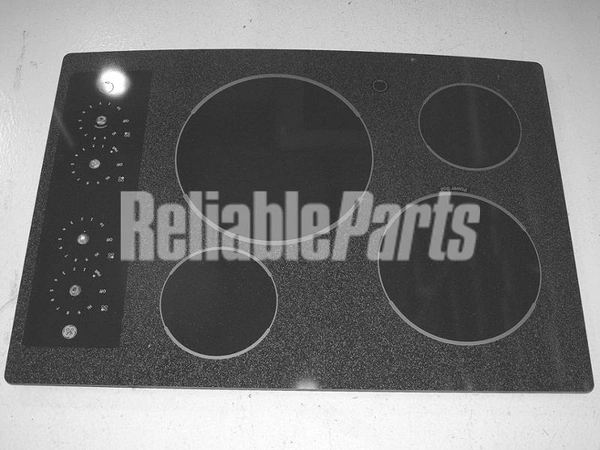
WB62T10584 GE Oven Glass Maintop Assembly

Maintain your cooking experience with this durable glass maintop assembly designed for select GE ovens. Engineered for seamless compatibility, this part fits various brands, including GE, Hotpoint, Haier, Monogram, and Café, ensuring a perfect match for your appliance.
Crafted from high-quality materials, it offers not only long-lasting performance but also enhances the aesthetic of your kitchen. This replacement part is essential for maintaining optimal cooking functionality and safety. Whether you’re performing a repair or simply looking to refresh your appliance, this reliable maintop assembly is a smart investment.
Easy to install, it gives you the confidence to restore your oven’s appearance and performance, allowing you to cook with precision. Trust in the reliable design by GE for a perfect fit every time. Transform your kitchen with this essential oven component.
Weight : 35.41 lbs
Dimension : 35.00 x 28.70 x 4.90
Write Your Own Review
Replacing the Whirlpool 2306996 GASKET-FIP
1. Disconnect the power to the appliance: turn off the power switch or unplug the electrical cord from the wall outlet.
2. Turn off the gas valve, typically located near the bottom of the appliance.
3. Open up the appliance and locate the Gasket-FIP.
4. Remove any screws holding the gasket in place and carefully remove the old gasket.
5. Make sure the mounting surface is clean and dry before applying a thin coat of plumbers’ putty if desired.
6. Place the new Gasket-FIP into the area, being careful not to over tighten the mounting screws.
7. Replace any insulation that may have been removed during the process.
8. Turn on the gas valve and then turn on the power to the appliance.
9. Test the connection to make sure it is secure.
10. Finally, test the appliance for proper operation.
Please keep in mind, these instructions are for general guidance and should always be used in conjunction with the manufacturer's manual, if available.


