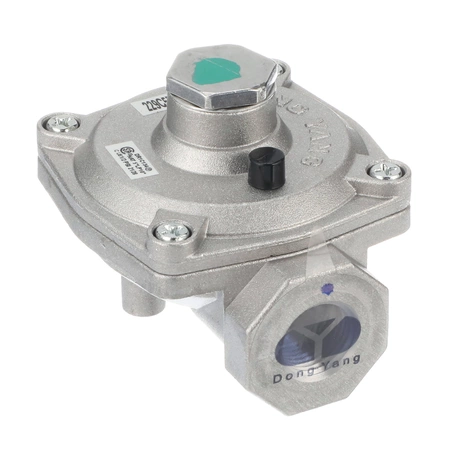
WB19T10089 GE Oven Pressure Regulator

WB19T10089 is an original equipment manufactured (OEM) part. Ensure the optimal performance of your gas oven with this essential pressure regulator, designed specifically for select GE models. This high-quality component guarantees precise gas flow, enhancing cooking efficiency while promoting safety in your kitchen. Compatible with a variety of brands including Hotpoint, Haier, Monogram, and Café, it offers versatility for different oven systems.
Expertly crafted to fit seamlessly into your appliance, this pressure regulator is a reliable replacement part that maintains the integrity of your oven's gas burner and control valve functions. Ideal for both professional chefs and home cooks, it helps preserve temperature settings and cooking times. Maintain your oven's performance today with this precise and durable part, designed to keep your culinary creations perfectly cooked.
Weight : 0.50 lbs
Package Dimension : 4.60 x 4.10 x 3.70
Please Verify Your Purchase to Submit a Review
Step 1: Turn off the power to the water heater. Disconnect the electric wiring and any attachments, then shut off the gas valve or disconnect the fuel supply.
Step 2: Locate the pressure regulator mounted at the top of the water heater. It may be held in place with a steel clamp or other mounting bracket.
Step 3: Remove the screws or clamps that hold the regulator in place and carefully remove it from the water heater.
Step 4: Clean the area where the old regulator was mounted with a clean rag to remove any debris or dirt.
Step 5: Inspect the new pressure regulator before you install it. Make sure it is the correct size and type for your water heater.
Step 6: Install the new pressure regulator. Reattach the mounting bracket and screws, or clamps and secure it in place.
Step 7: Reconnect the wiring and any other attachments. Then turn on the gas or fuel supply.
Step 8: Turn on the power to the water heater and allow it to operate for a few minutes to check for leaks before you turn it off again.
Step 9: Check the pressure gauge periodically to monitor the pressure in the system and make adjustments as needed.
Please keep in mind, these instructions are for general guidance and should always be used in conjunction with the manufacturer's manual, if available.


