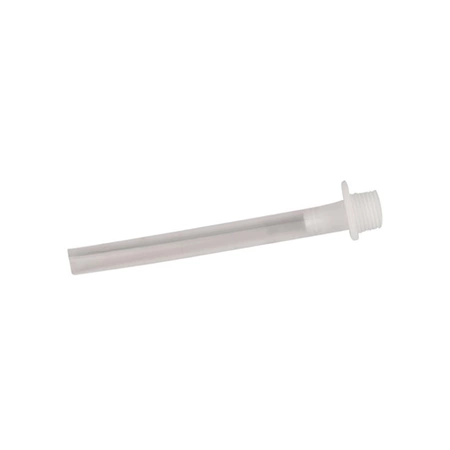
12100510000015 Danby Drain Connector Kit
Part #: DBY 12100510000015
This is a genuine OEM item made by Danby
Weight : 0.000000 lbs
This is a genuine OEM item made by Danby
Weight : 0.000000 lbs
Write Your Own Review
DIY Instructions for Replacing the Danby 12100510000015 Drain Connector Kit
1. Turn off the water supply to the Danby 12100510000015 drain connector kit. This can be done by turning off the main water valve, or by turning off the individual shutoff valves that are connected to the spray hose, dishwasher, and all other water sources connected to the drain connector kit.
2. Disconnect the inlet and outlet hoses from the drain connector kit by gently pulling them off.
3. Unscrew the mounting screws that are holding the drain connector kit in place.
4. Remove the existing drain connector kit from its mount and discard it.
5. Place the new Danby 12100510000015 drain connector kit on its mount and secure it with the mounting screws.
6. Reattach the inlet and outlet hoses to the new drain connector kit. Tighten the connections until they’re secure.
7. Turn the water back on and check for any leaks. Tighten each connection if needed.
8. Test the new drain connector kit to make sure it’s functioning properly.
Please keep in mind, these instructions are for general guidance and should always be used in conjunction with the manufacturer's manual, if available.
No more associated models for this part.


